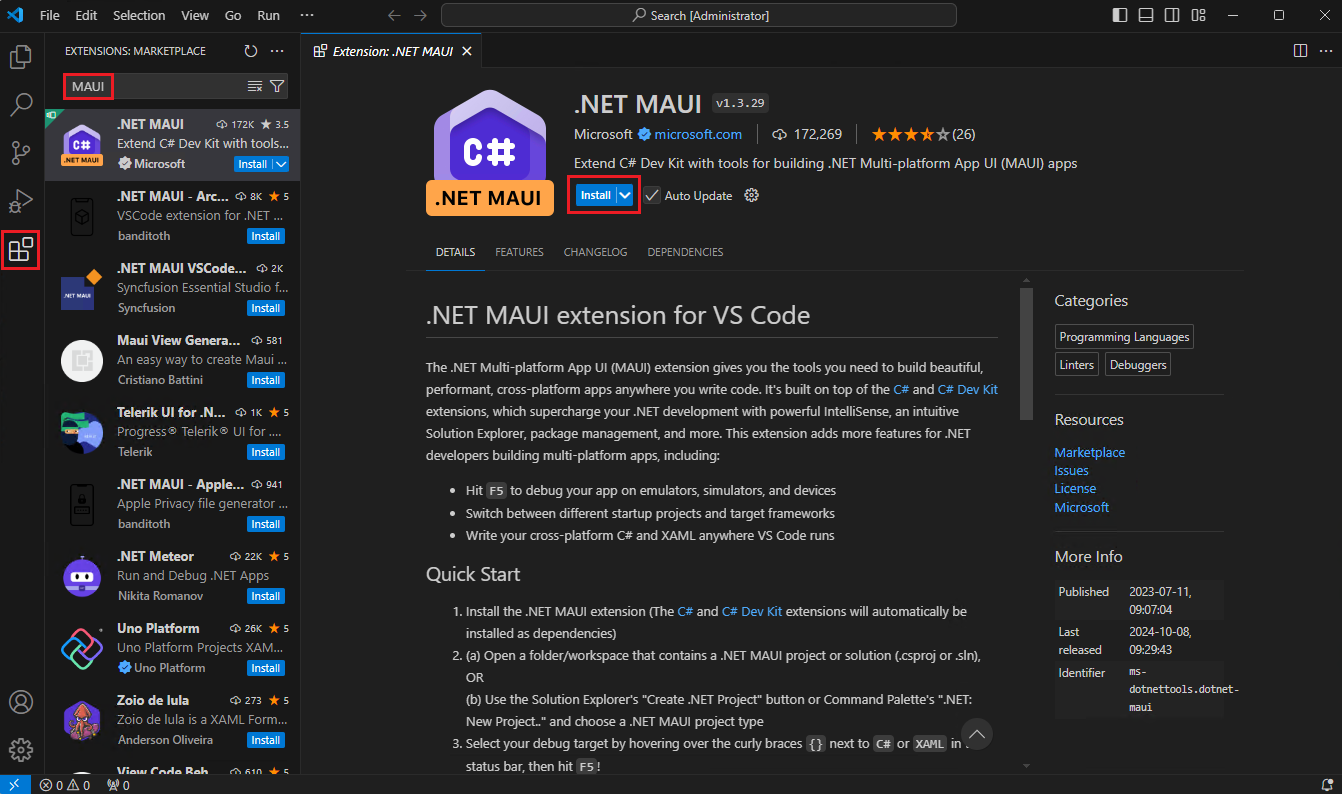
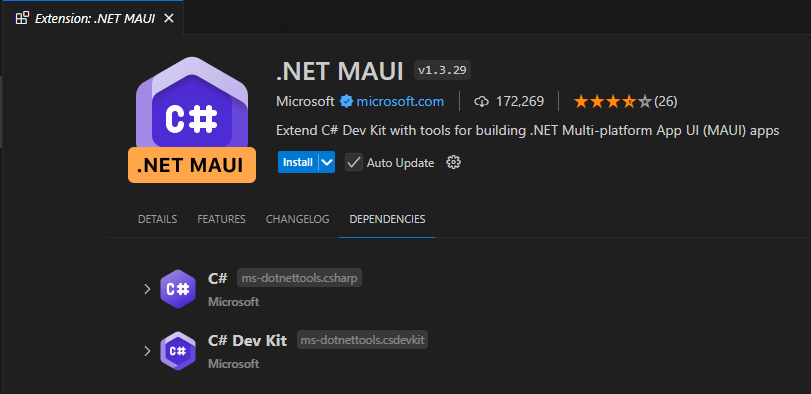
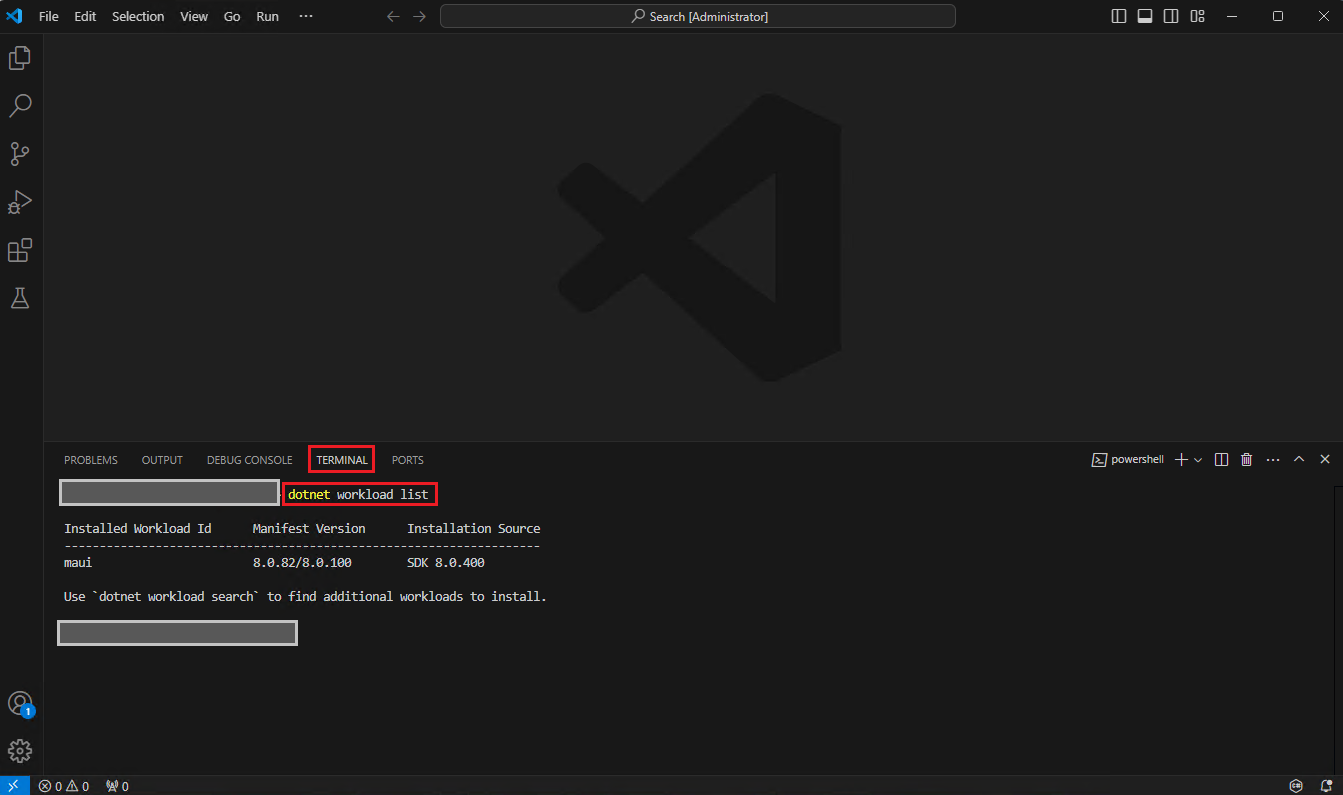
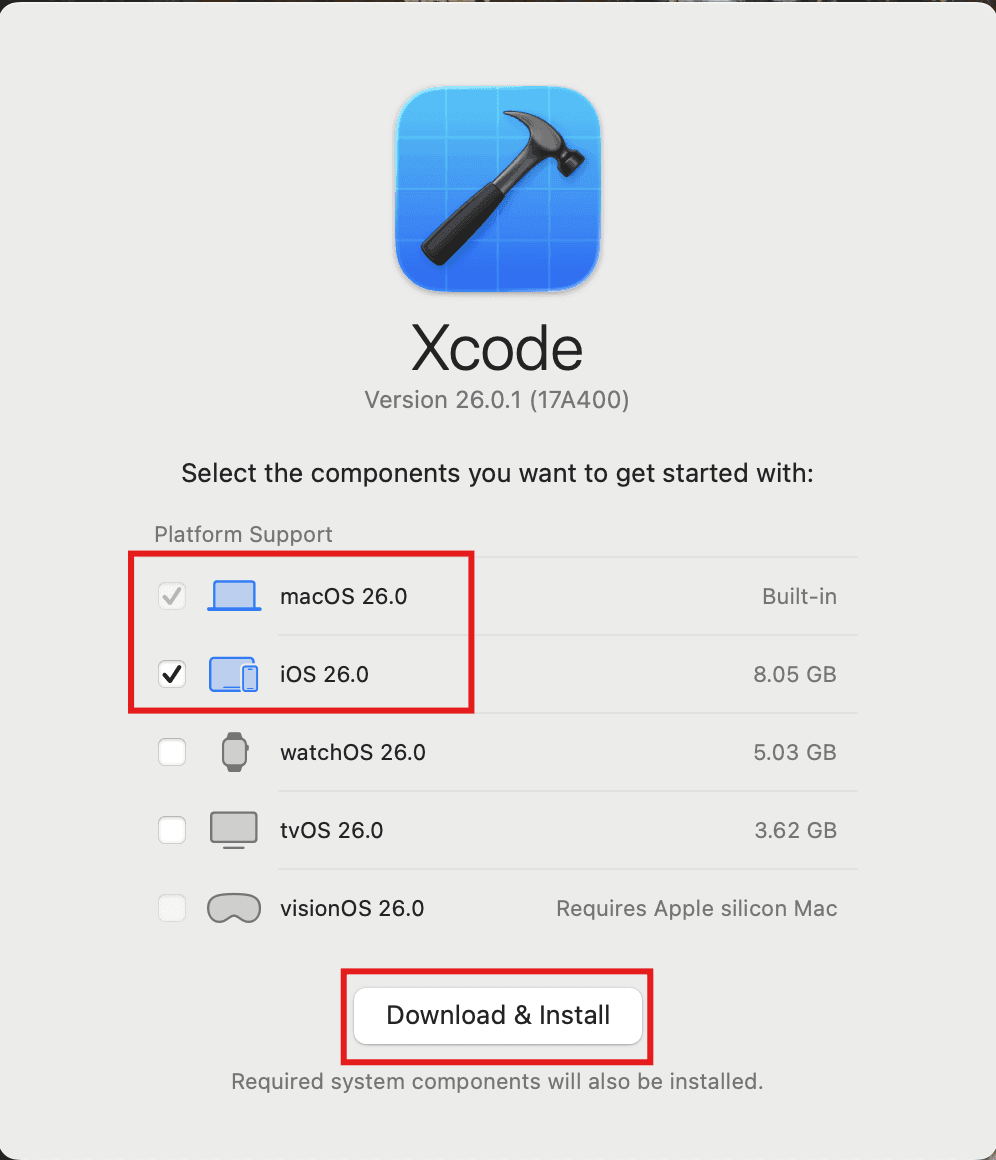
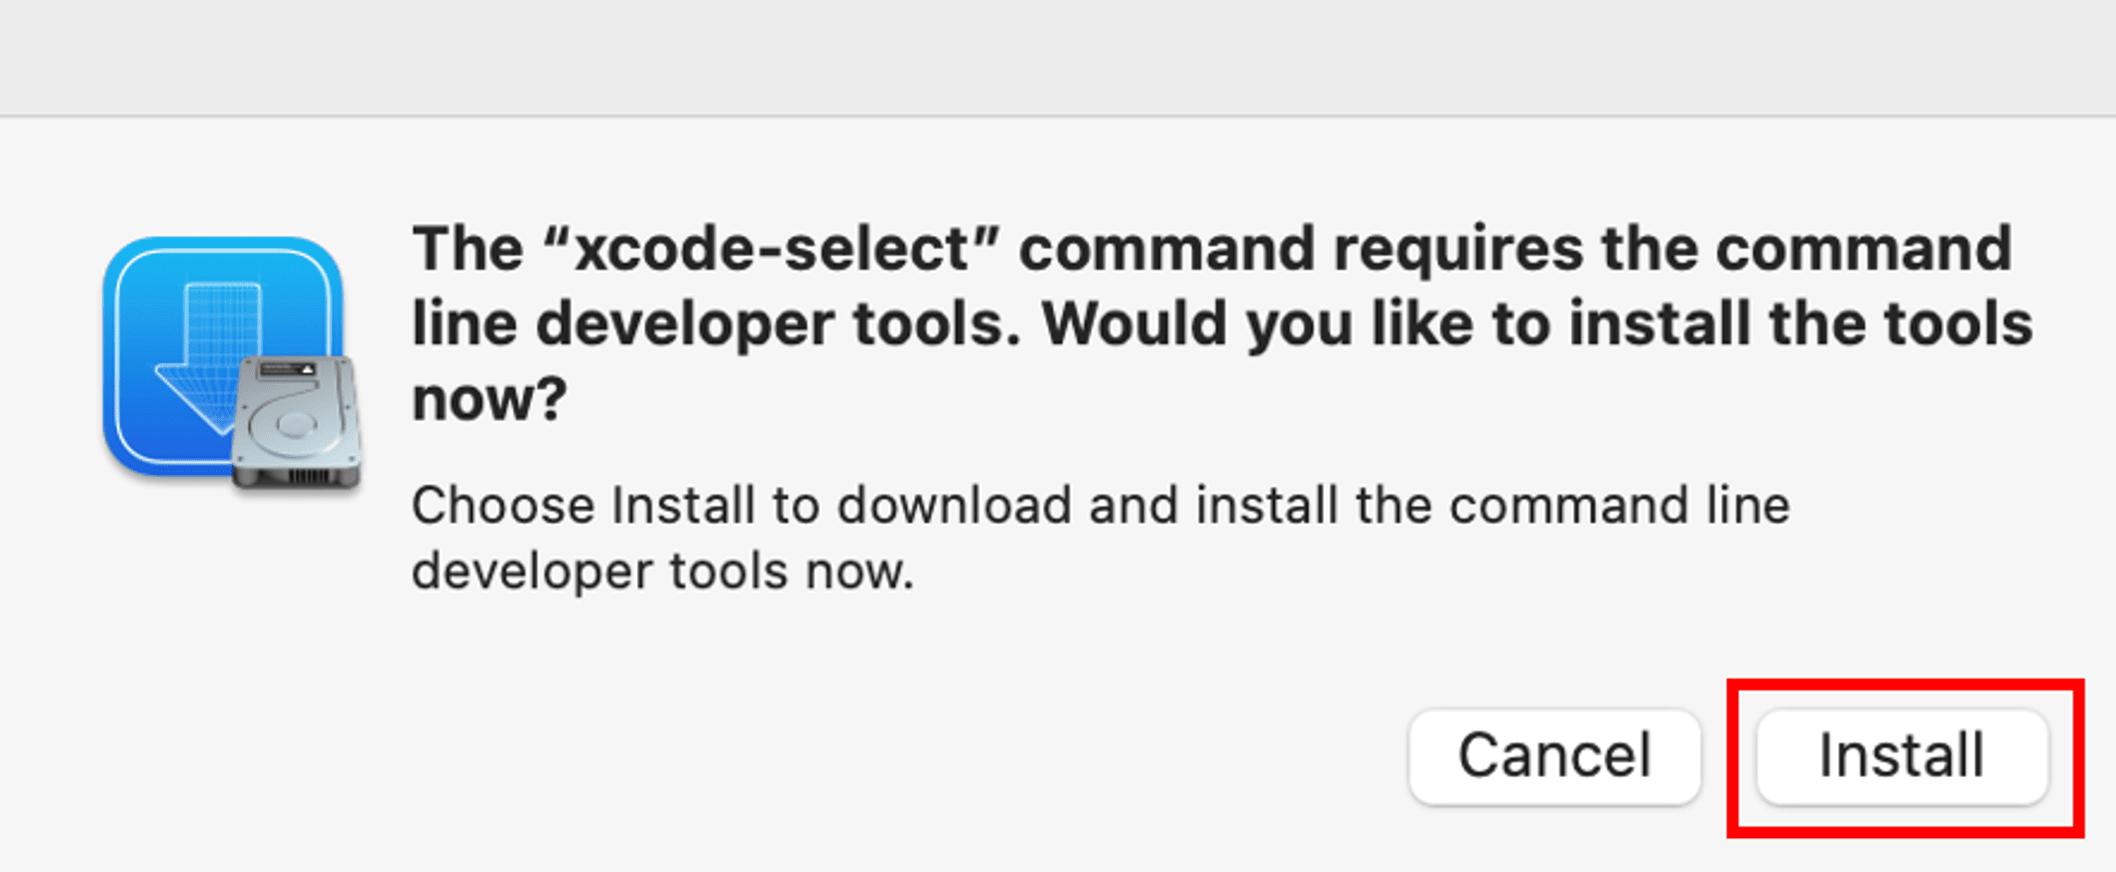
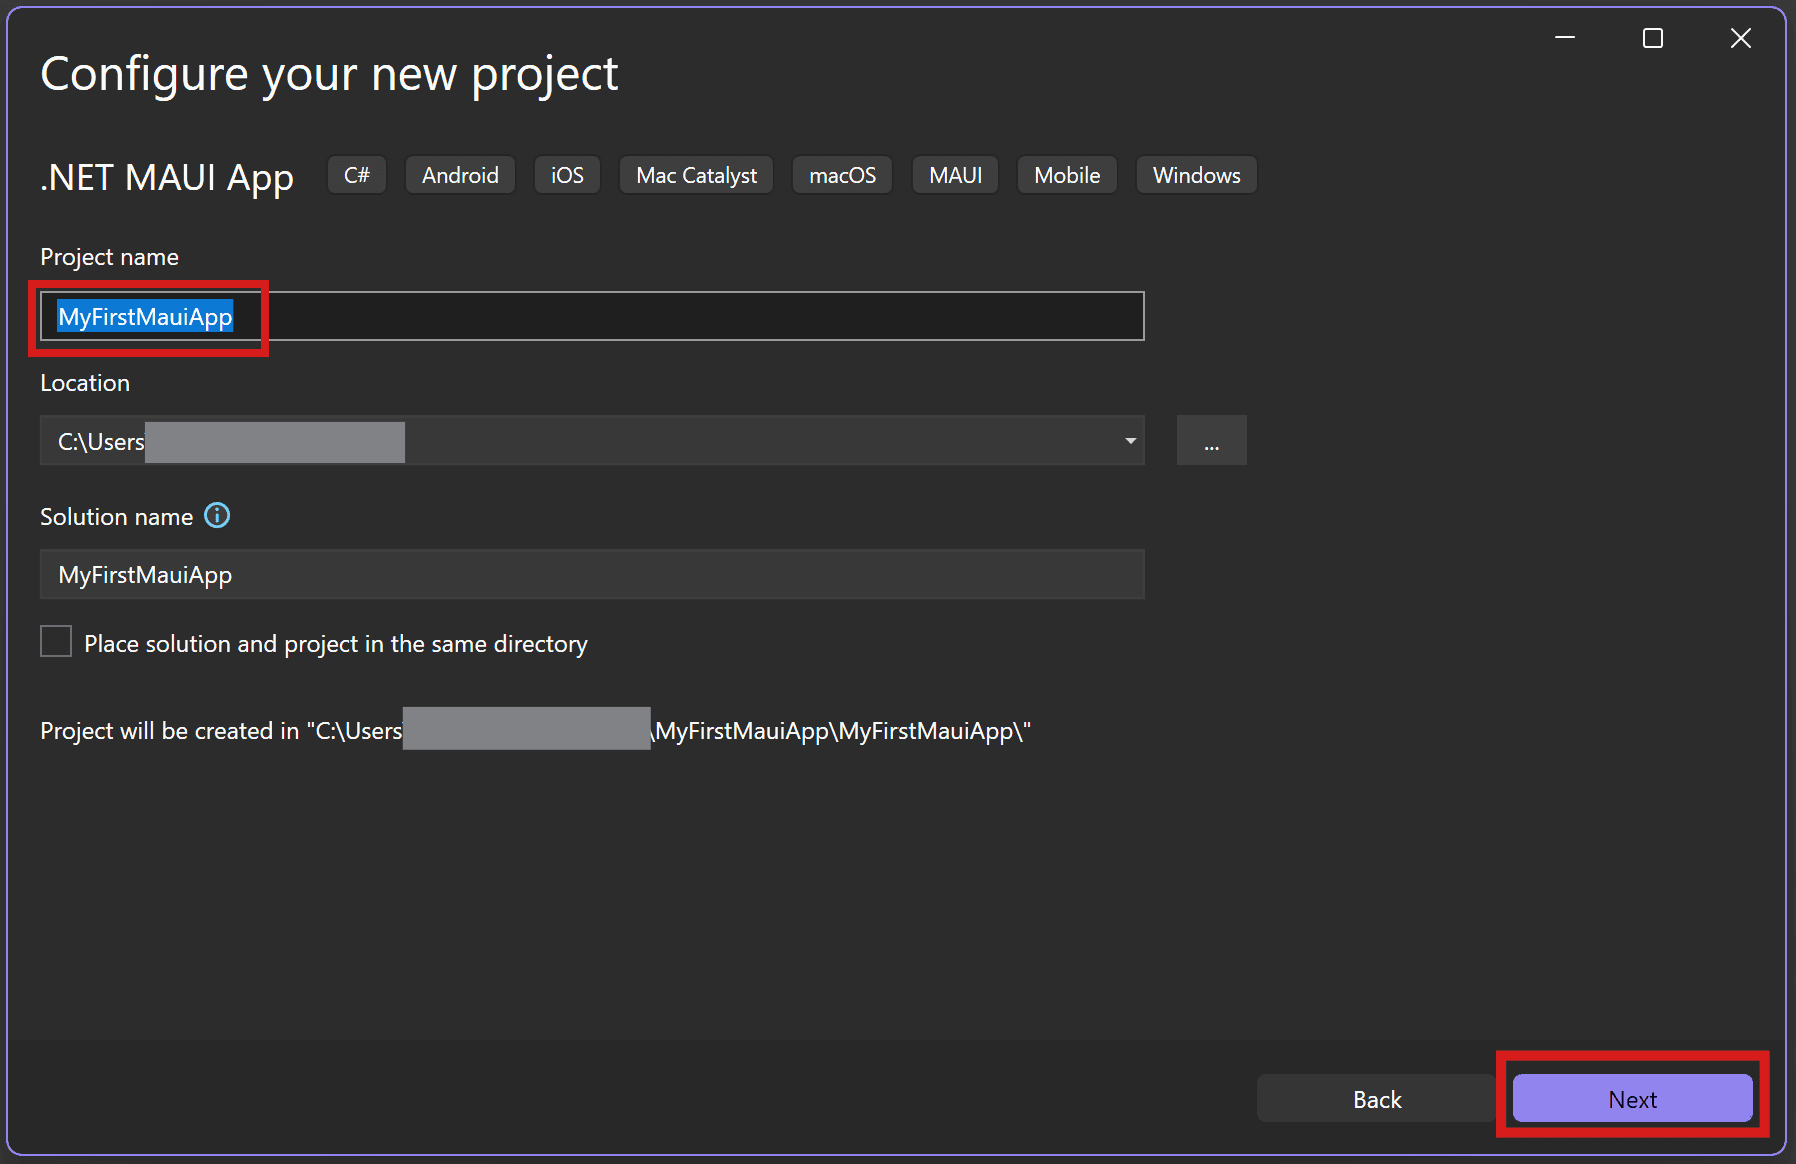
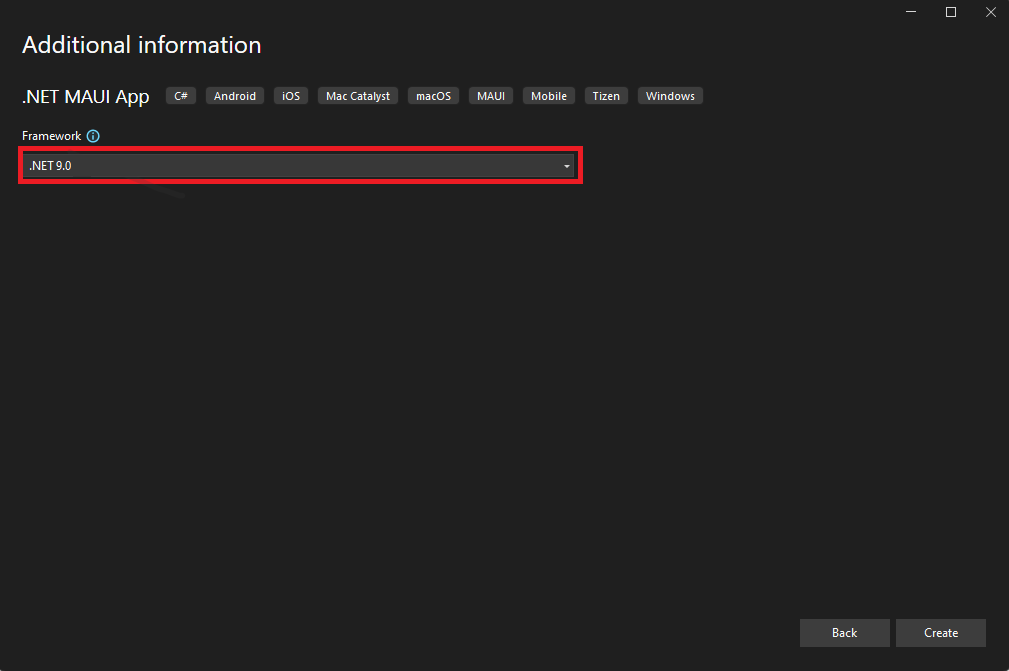
.NET MAUI Tutorial - Build your first multi-platform app in C#


Edit your code
When developing applications with .NET MAUI, XAML Hot Reload is available when you're debugging your application. This means that you can change the XAML user interface (UI) while the application is running and the UI will update automatically.
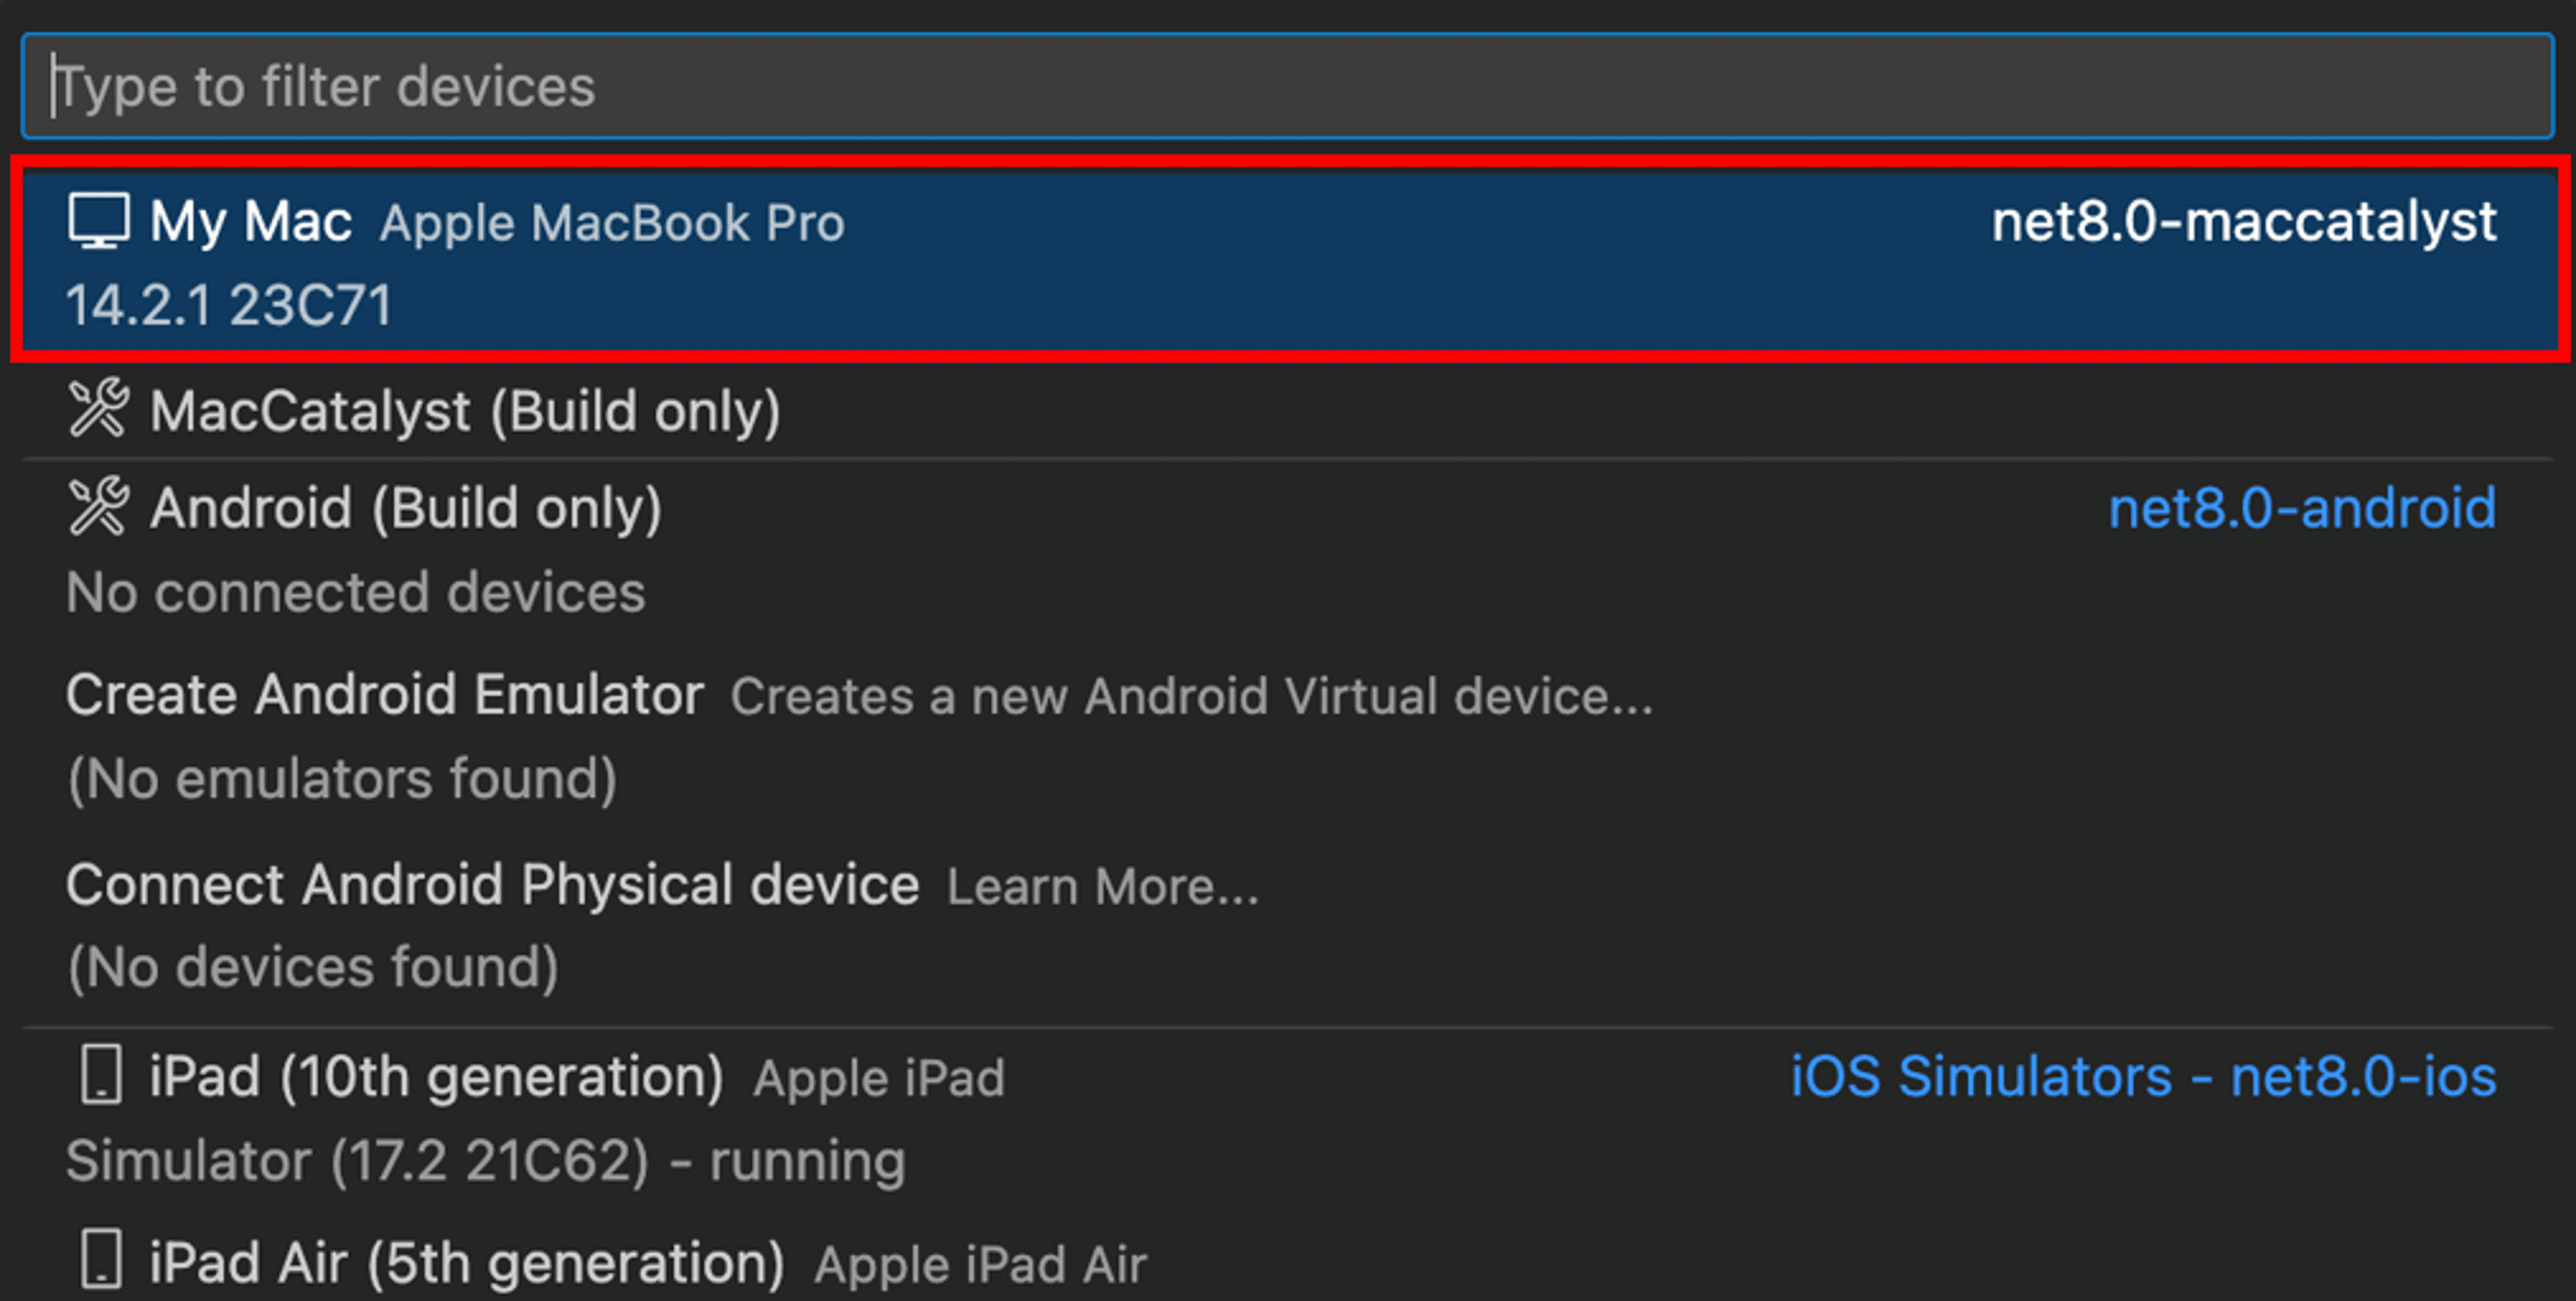
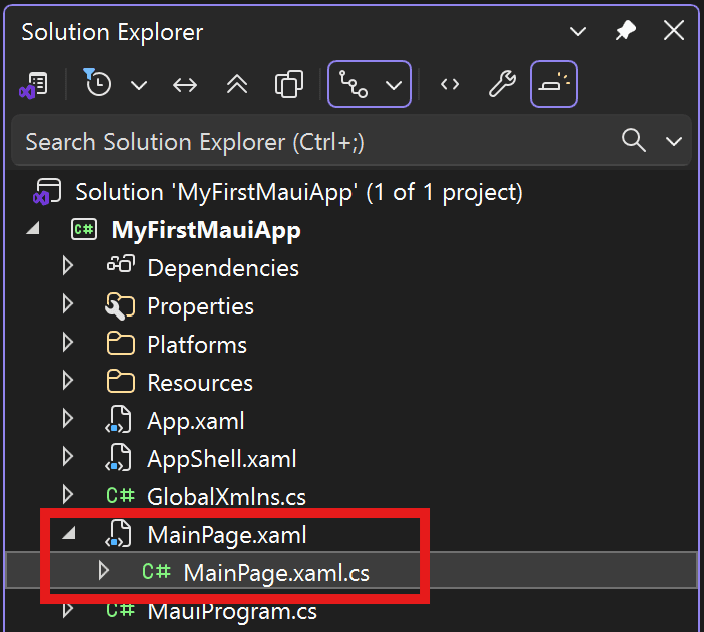
Go back to Visual Studio and leave the app running. In the Solution Explorer, double-click the MainPage.xaml file under the MyFirstMauiApp project. If you don't see the Solution Explorer pane, select View > Solution Explorer from the main menu (or press CTRL+ALT+L).

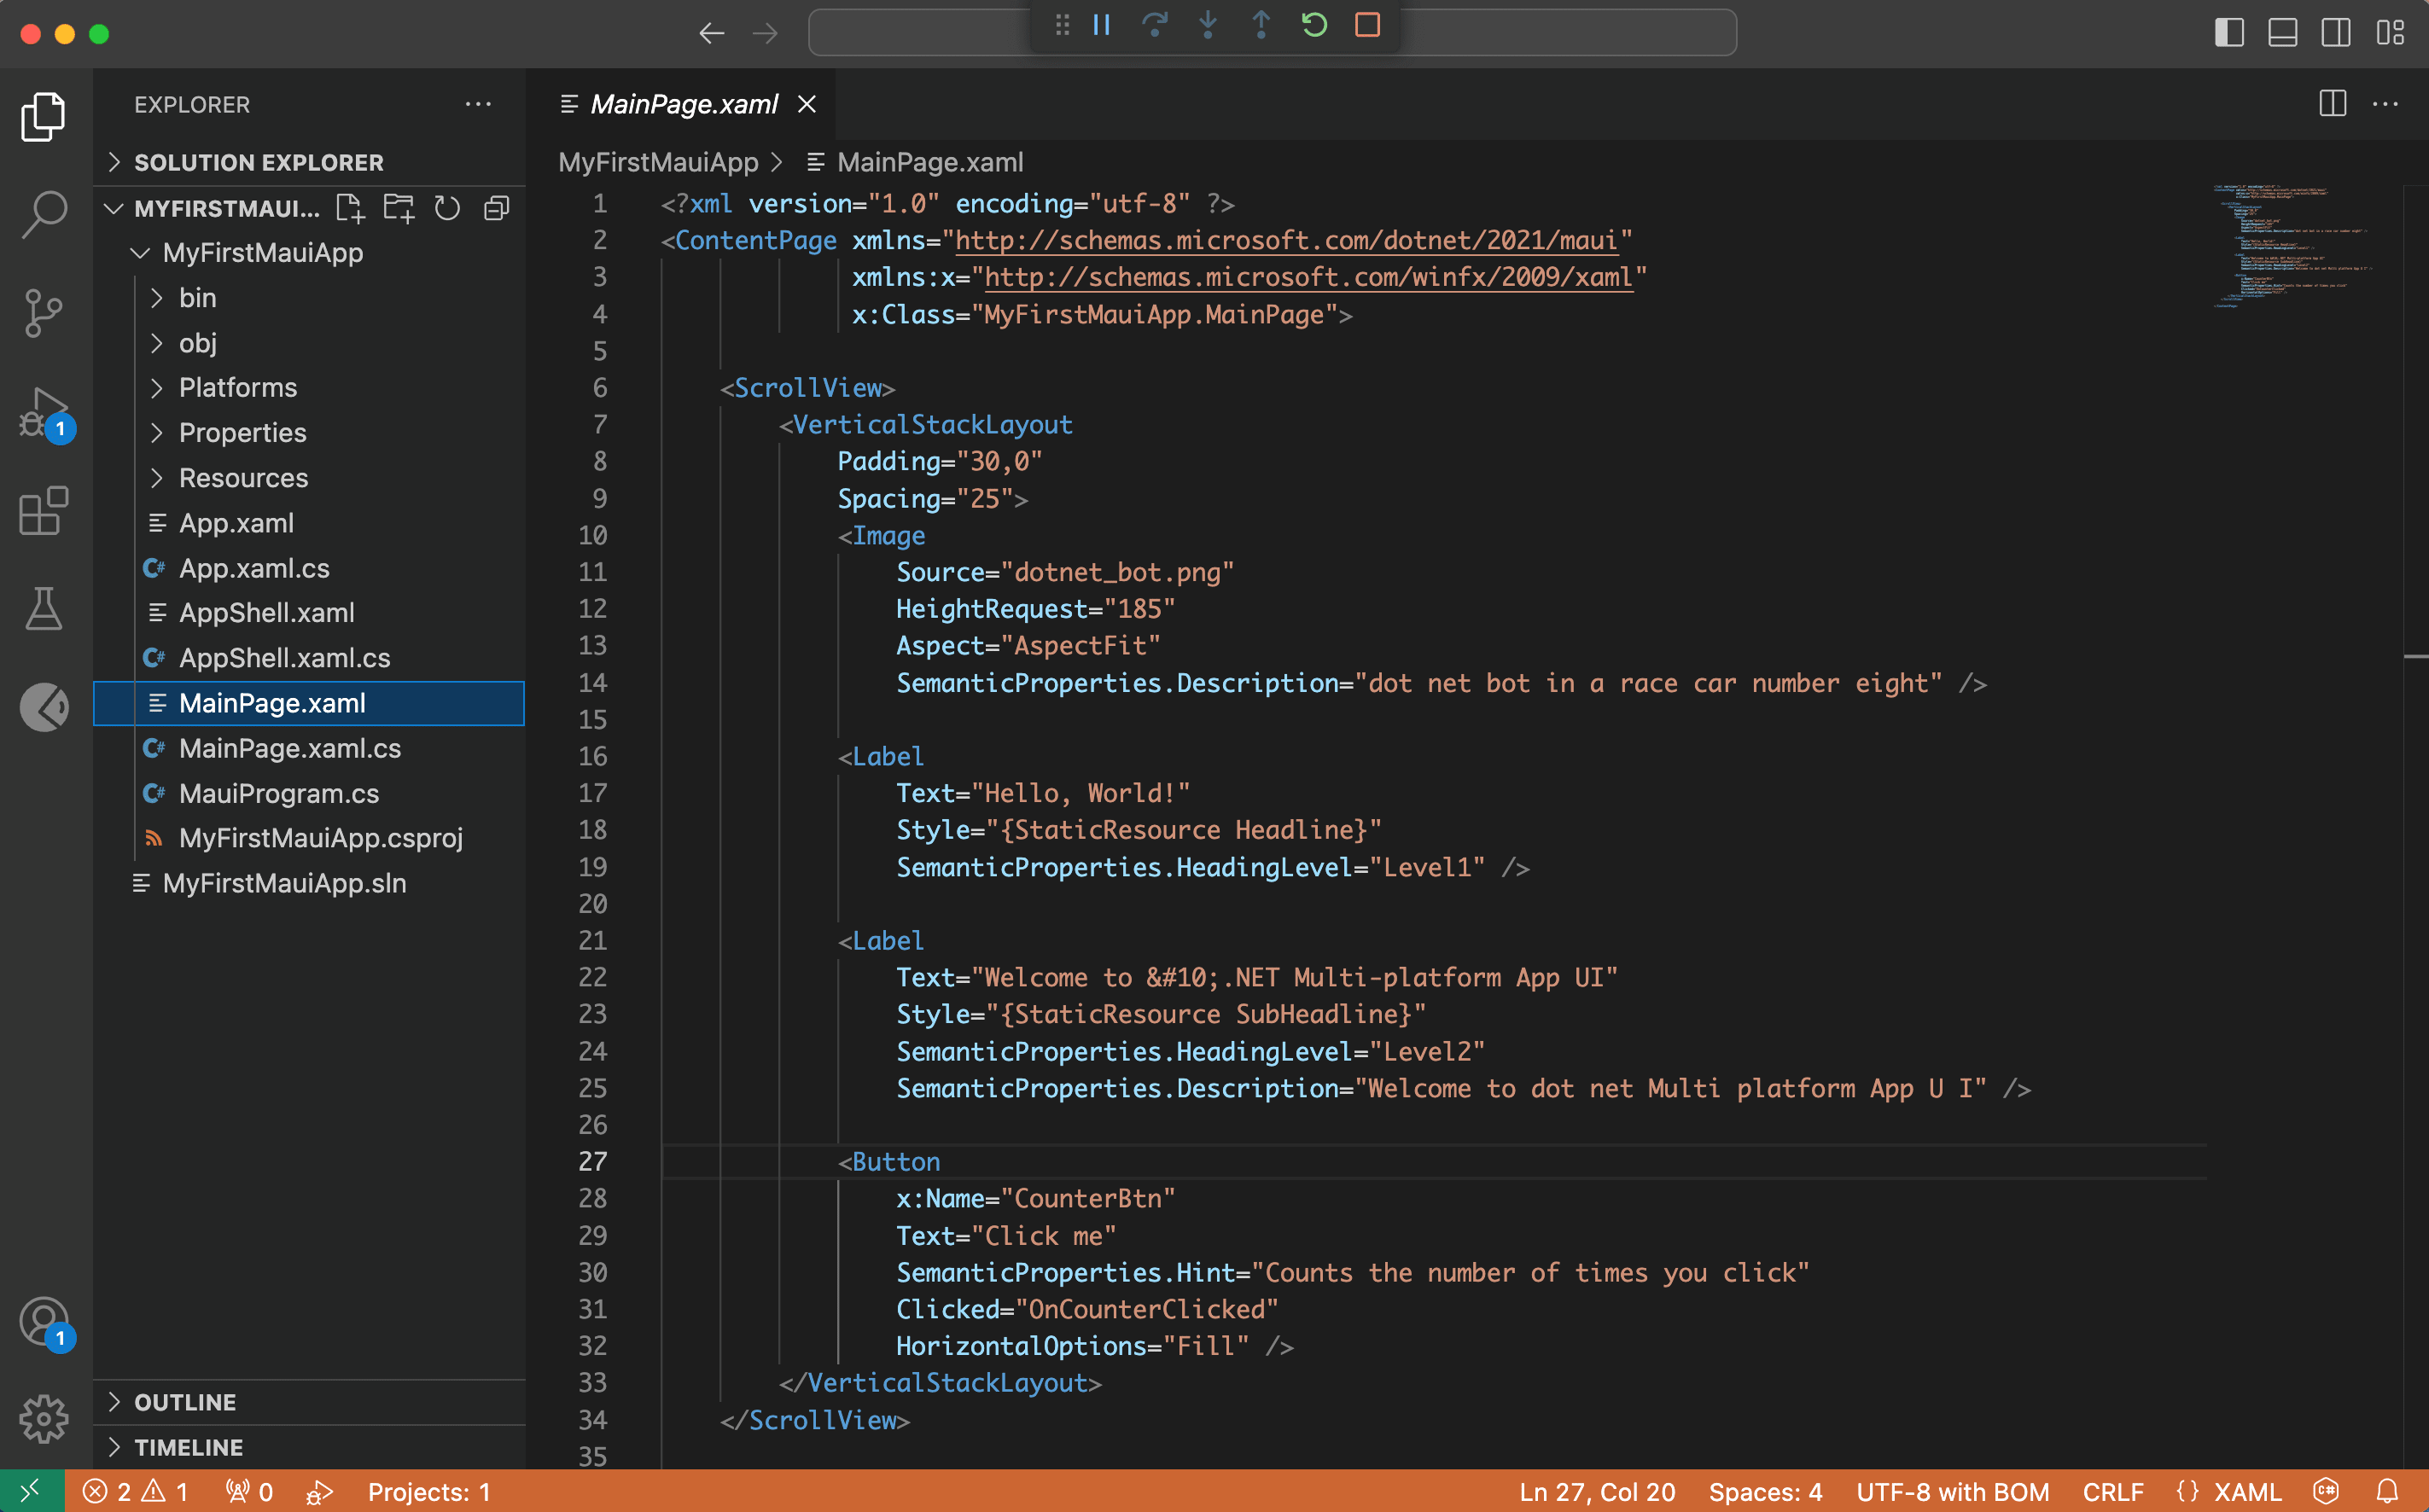
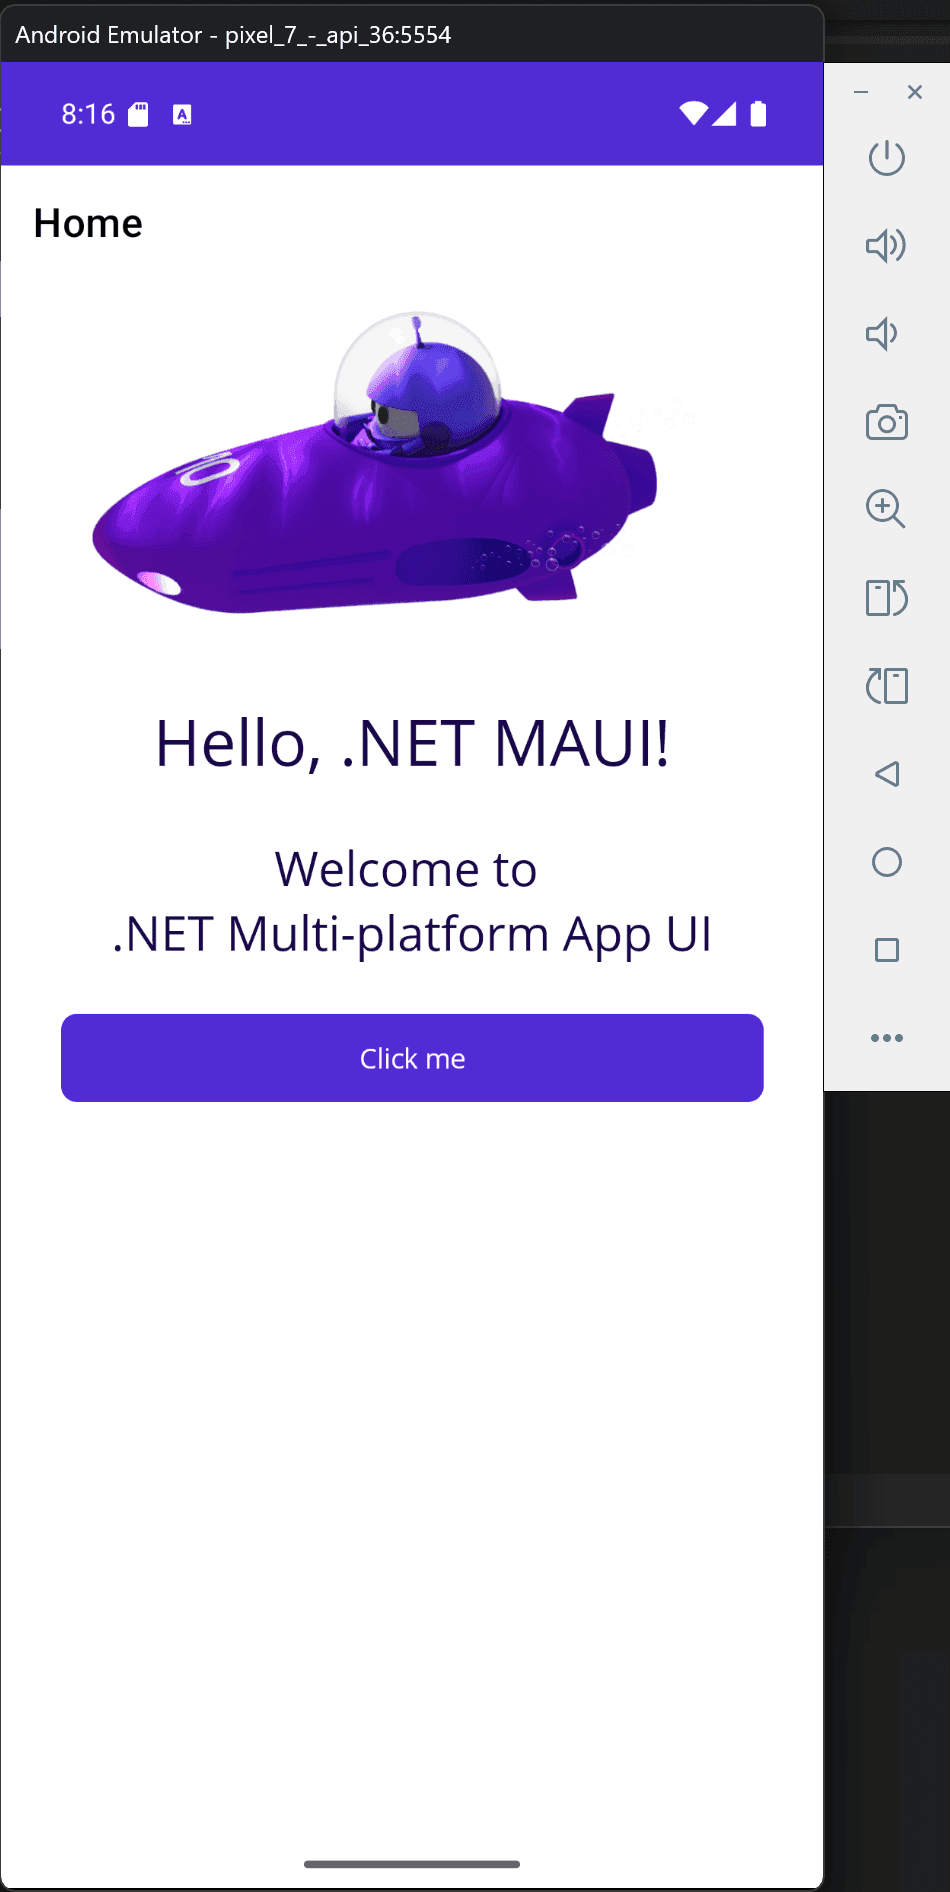
Currently, the Text of the second Label on line 17 is set to say Hello, World! as shown in the following code:
<Label
    Text="Hello, World!"
    Style="{StaticResource Headline}"
    SemanticProperties.HeadingLevel="Level1"  />
Update the text to read Hello, .NET MAUI!:
<Label
Text="Hello, .NET MAUI!"
Style="{StaticResource Headline}"
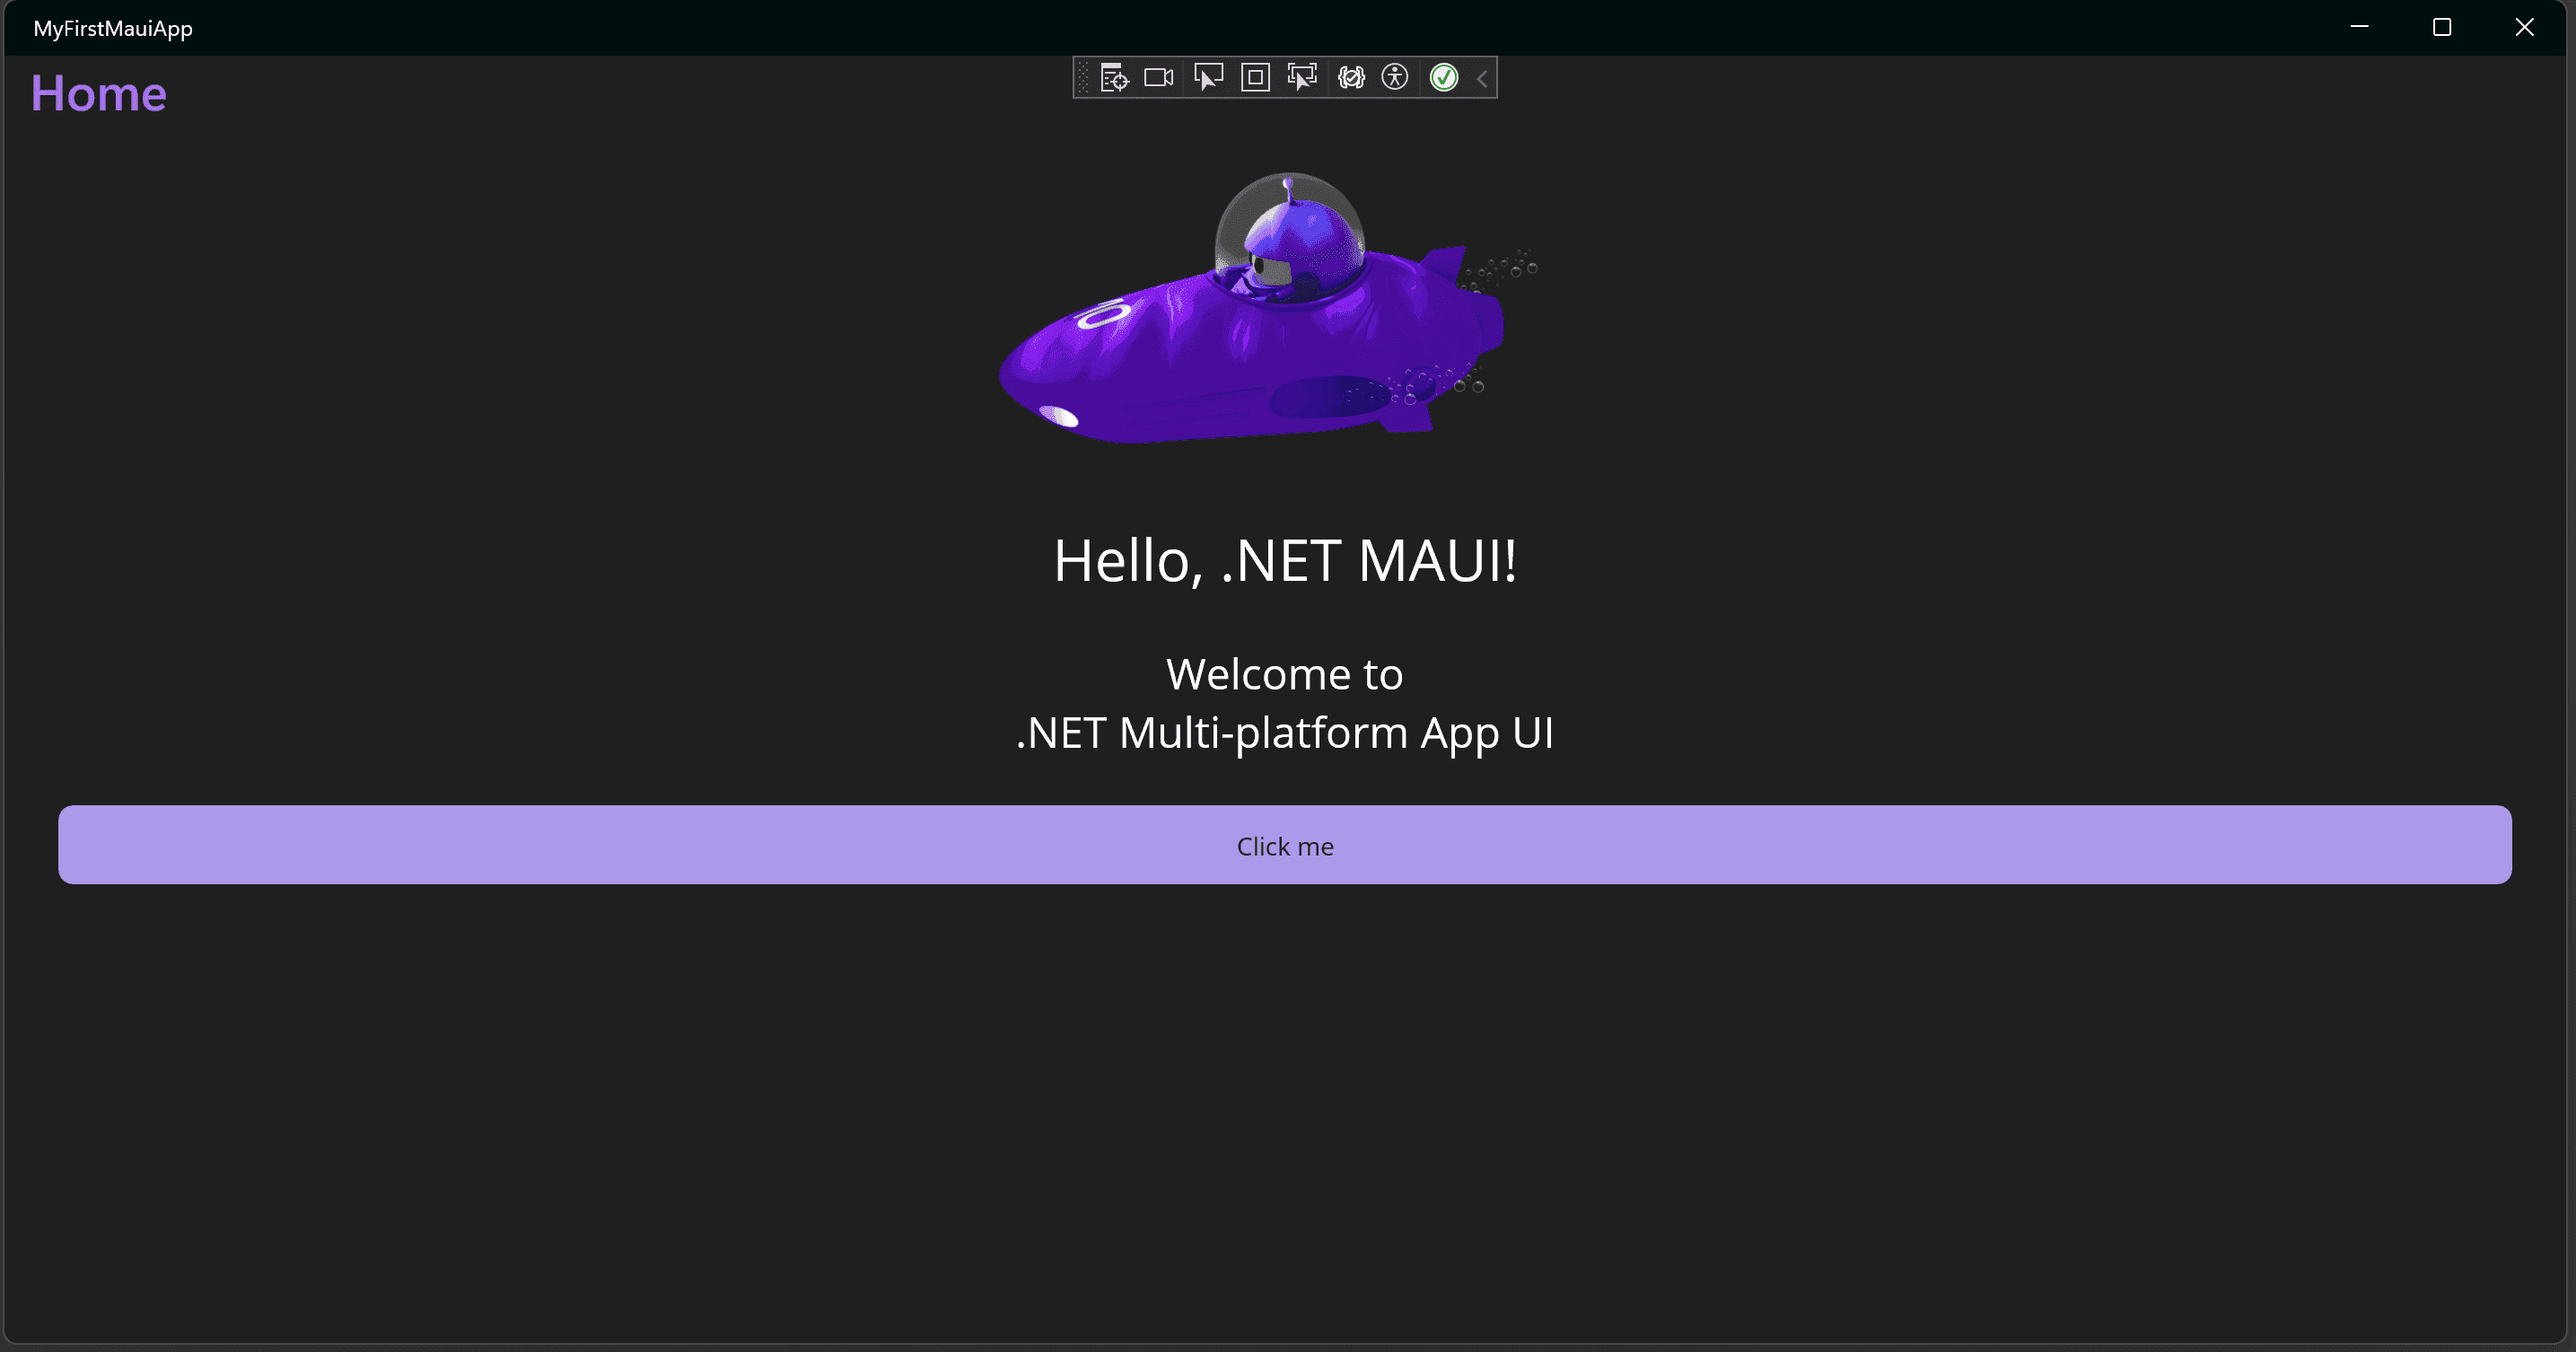
SemanticProperties.HeadingLevel="Level1" />The app UI updates automatically as you make changes.

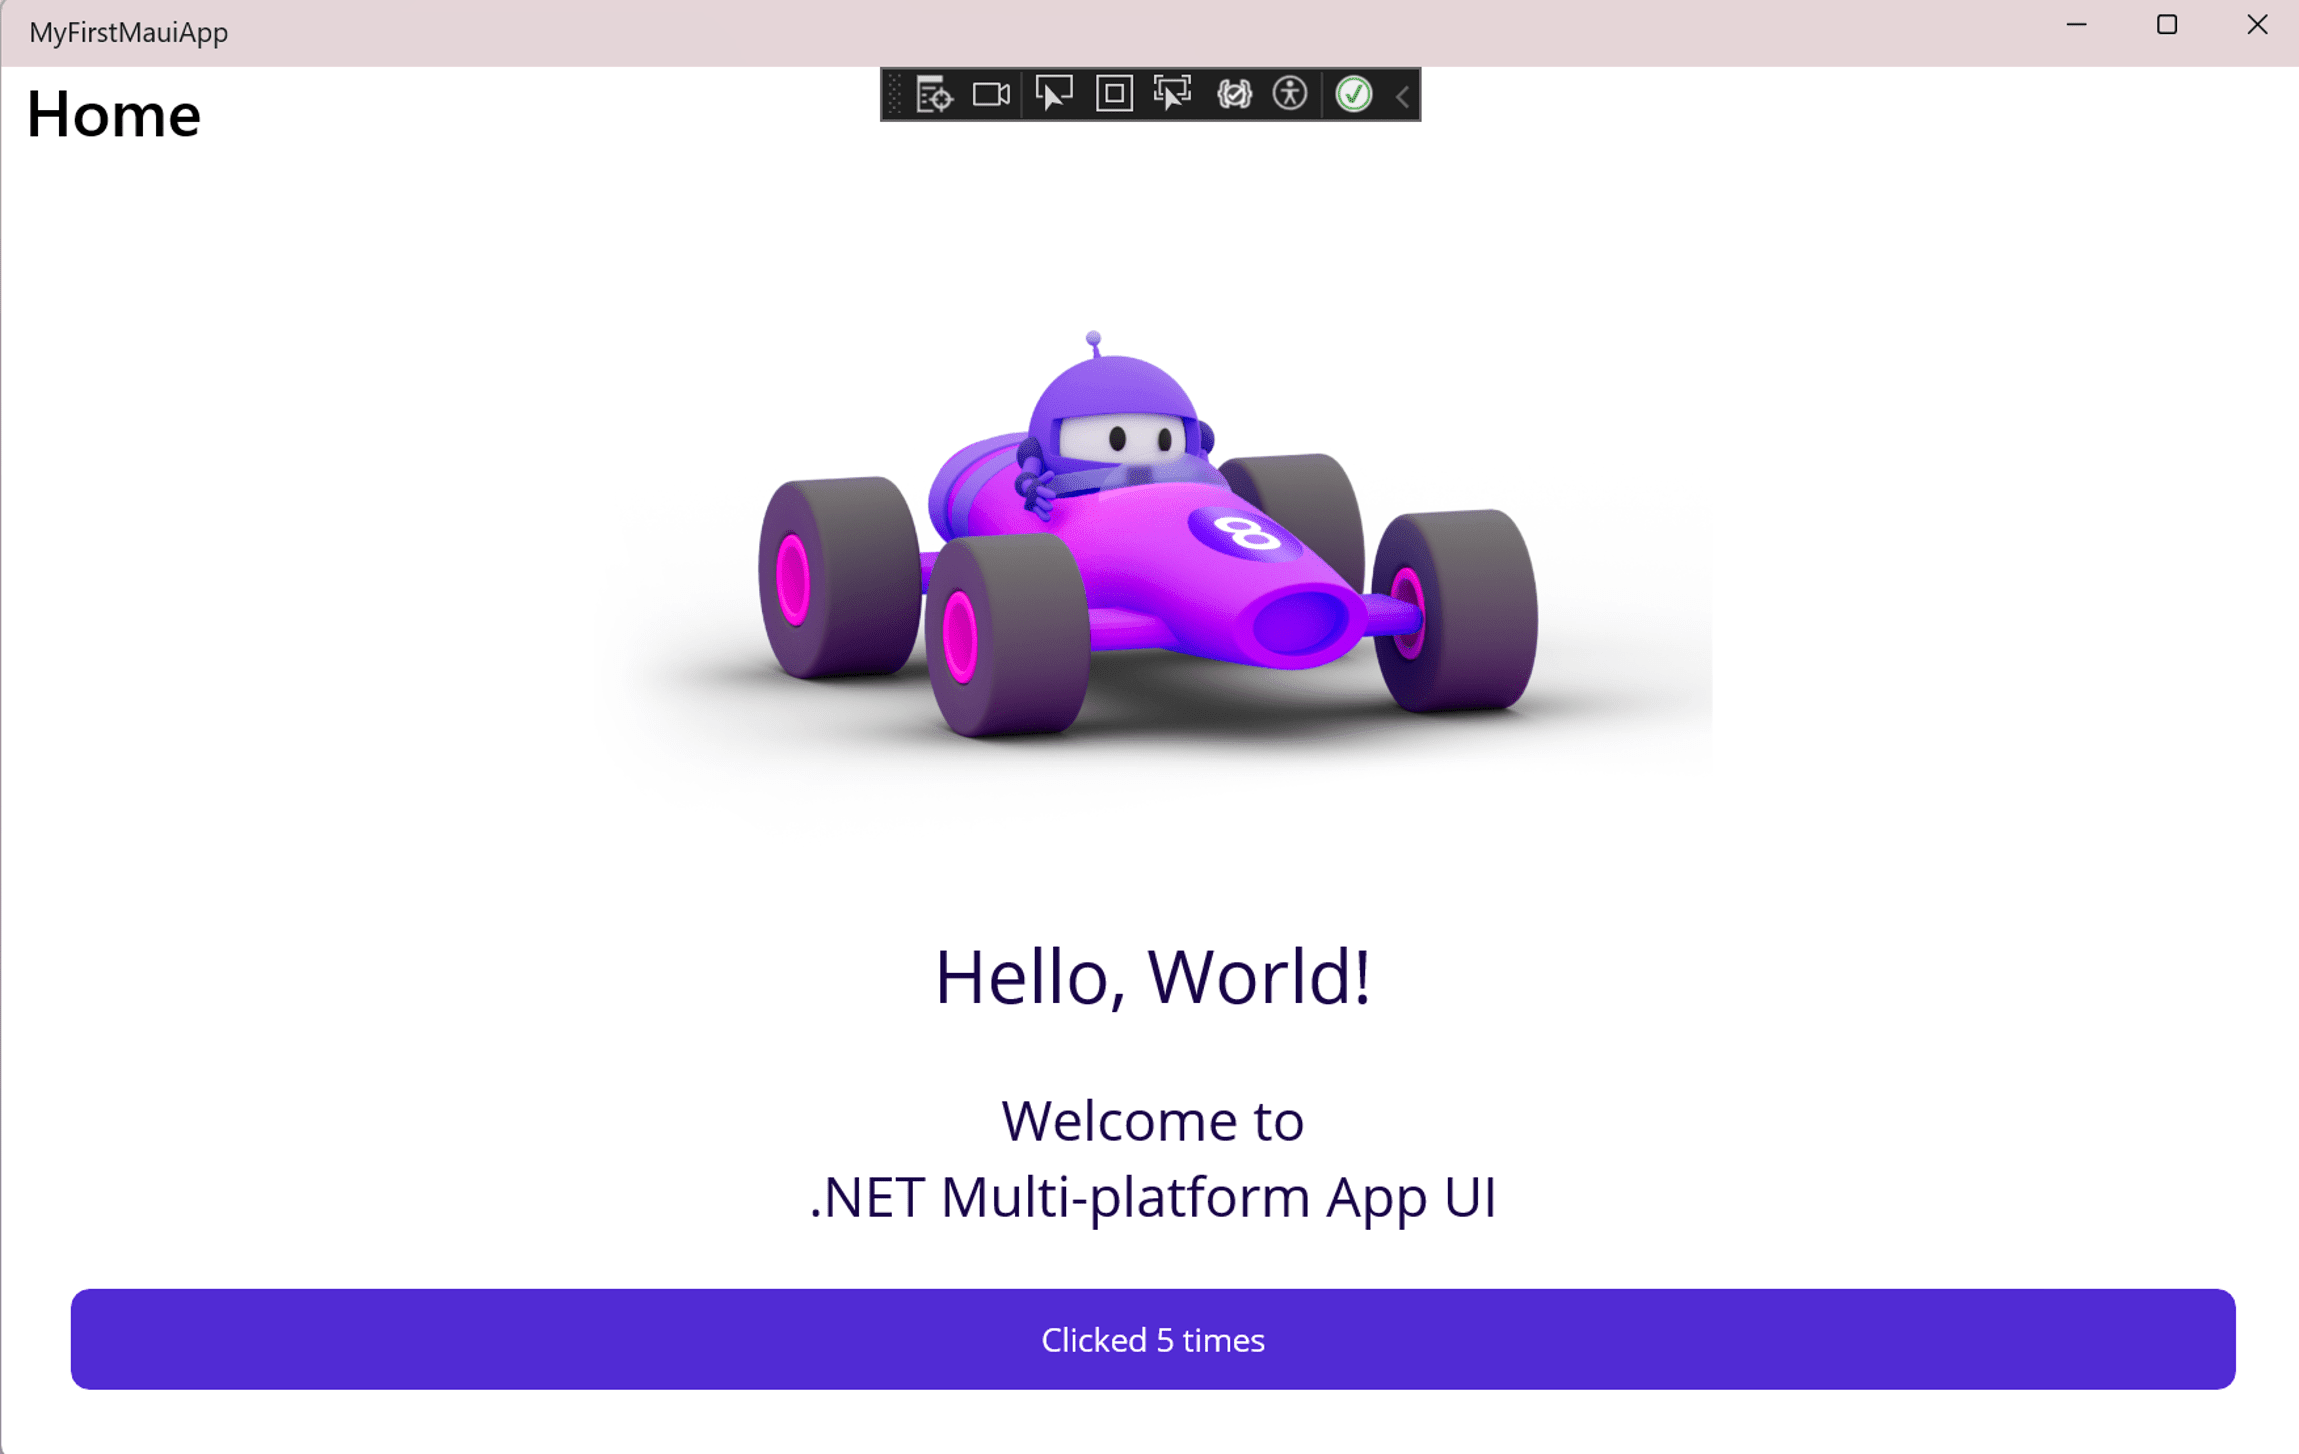
When developing applications with .NET MAUI, you can also use .NET Hot Reload to reload your C# code. Let's modify the logic in the application to increment the count by 10 instead of by 1 when you click the button.
Open MainPage.xaml.cs (this file is nested under MainPage.xaml, or you can right-click and select View Code from the menu).
The OnCounterClicked method on that file currently has the following code:
private void OnCounterClicked(object sender, EventArgs e)
{
    count++;

    if (count == 1)
        CounterBtn.Text = $"Clicked {count} time";
    else
        CounterBtn.Text = $"Clicked {count} times";

    SemanticScreenReader.Announce(CounterBtn.Text);
}
Update the count++; to increment by 10 by changing it to count += 10;.
private void OnCounterClicked(object sender, EventArgs e)
{
count += 10;
if (count == 1)
CounterBtn.Text = $"Clicked {count} time";
else
CounterBtn.Text = $"Clicked {count} times";
SemanticScreenReader.Announce(CounterBtn.Text);
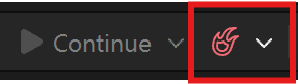
}To apply your code changes, save the file and select the Hot Reload button in Visual Studio or select ALT+F10.
Select the Click me button and see it increment by 10. Well done! You can close the running app now.