
.NET MAUI Tutorial - Build your first multi-platform app in C#
Introduction
Purpose
Set up your development environment and build your first .NET Multi-platform App UI (.NET MAUI) app.
Prerequisites
Check the system requirements for Visual Studio 2026.
The minimum requirements for the latest version of Xcode.
Time to Complete
10 minutes + download/installation time
Scenario
A mobile and desktop app that runs on Windows and Android that displays a Hello, World! message.
A mobile and desktop app that runs on Mac and iOS that displays a Hello, World! message.
Download and install
Download and install Visual Studio 2026.
During installation, the .NET Multi-platform App UI development workload should be selected. Using the link above should preselect all the prerequisites correctly, as shown on the following image:

Already have Visual Studio 2026?
This tutorial is optimized for the latest version of Visual Studio. If you already have Visual Studio 2026, ensure it's up to date and has the required workload installed:
-
Find the Visual Studio Installer on your computer.
In the Windows Start menu, search for "
installer", and then select Visual Studio Installer from the results. - If prompted, allow the installer to update itself.
- If an update for Visual Studio 2026 is available, an Update button will be shown. Select it to update before modifying the installation. This tutorial only works with Visual Studio 2022 17.12 and later versions.
- Find your Visual Studio 2026 installation and select Modify.
- Select .NET Multi-platform App UI development.
- Select the Modify button.
-
Download and install the .NET SDK. After the download completes, launch the download to begin the install.
Download .NET 10 SDK x64 (Intel)
Download .NET 10 SDK Arm64 (Apple Silicon)If you're on a Mac with an Apple M1 or M2 chip, you need to install the Arm64 version of the SDK.
-
Download and install VS Code:
-
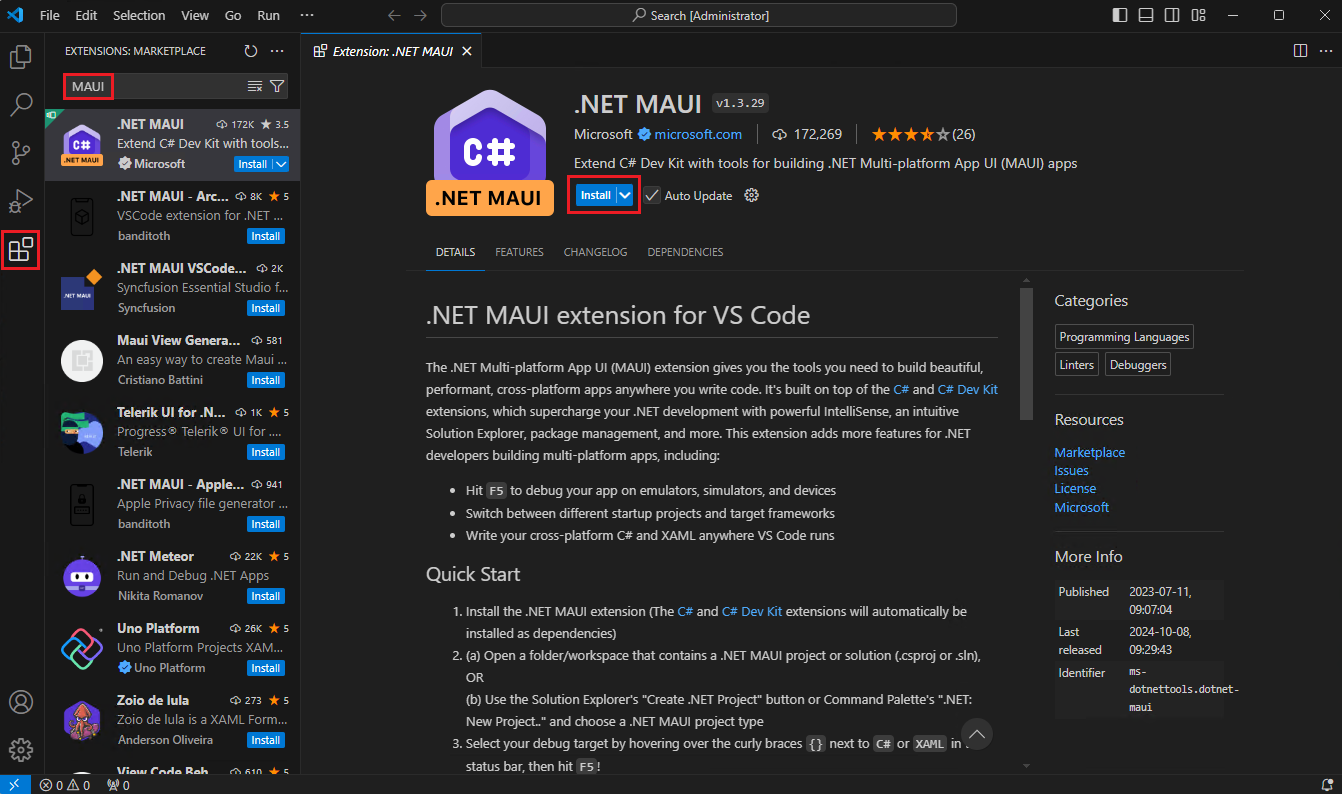
Open VS Code and select the Extensions button in VS Code's Activity Bar to the left. Type MAUI in the search bar, select .NET MAUI, and then select the Install button on the .NET MAUI extension page.
![VS Code's MAUI Extension']()
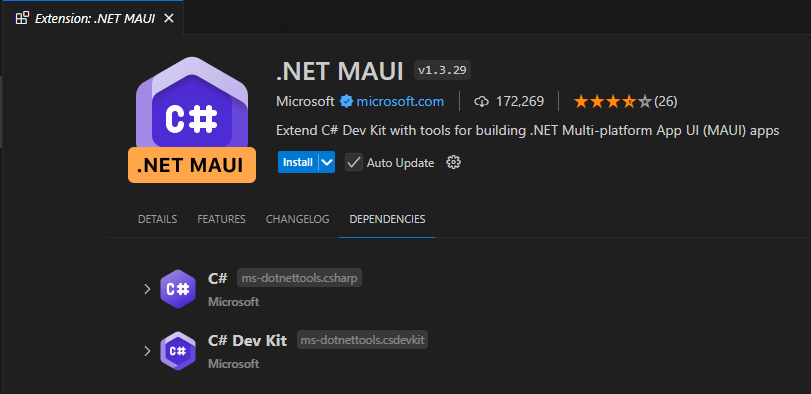
This extension comes with the C# Dev Kit and the C# extensions, which are required for the .NET MAUI extension to run.
![VS Code's MAUI Extension Dependencies]()
-
Open a new terminal and install the .NET MAUI workload by running the following command:
Terminalsudo dotnet workload install mauiIf the installation succeeded, you should see an output similar to the following:
TerminalSuccessfully installed workload maui
Check everything installed correctly
Once you've set up your environment, open a new VS Code terminal. In the toolbar, select Terminal, then New Terminal.

In your terminal, run the following command to check your installation.
dotnet workload list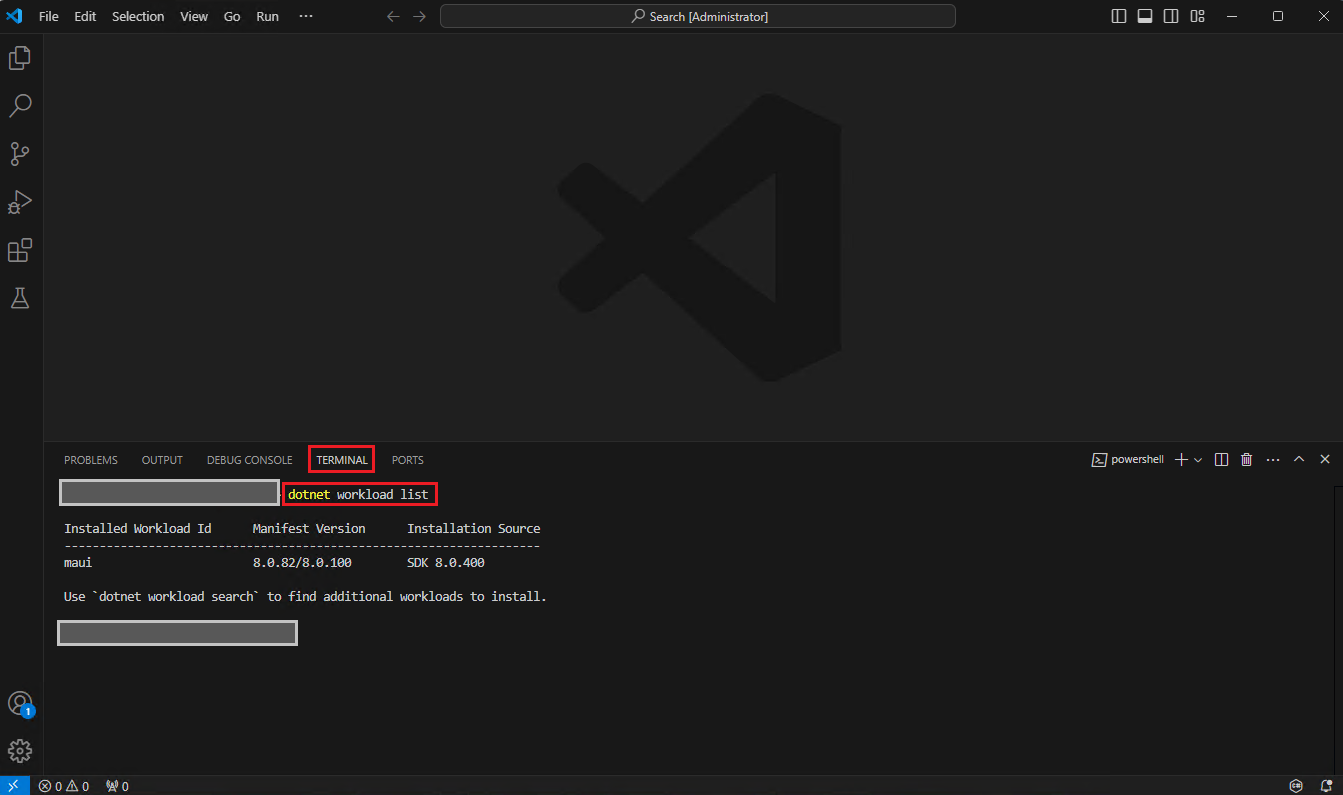
If the installation succeeded, you should see an output similar to the following:
Installed Workload Id      Manifest Version      Installation Source
--------------------------------------------------------------------
maui                       8.0.82/8.0.100        SDK 8.0.400

Use `dotnet workload search` to find additional workloads to install.
Got an error?
If you receive a 'dotnet' is not recognized as an internal or external command error, make sure you opened a new VS Code terminal. If restarting VS Code or restarting your machine doesn't resolve the issue, use the I ran into an issue button at the bottom of the page to get help fixing the problem.
Install Xcode
To build .NET MAUI apps, you'll also need:
-
To find the latest version of Xcode that is compatible with .NET MAUI, check this release version reference. Go to the Apple Tools column to find the latest compatible Xcode version.
-
An Apple ID
If you don't already have an Apple ID, you can create a new one at https://appleid.apple.com. An Apple ID is required for installing and signing into Xcode.
After installing Xcode, you must open Xcode and agree to the license agreements and install optional components, if prompted.
-
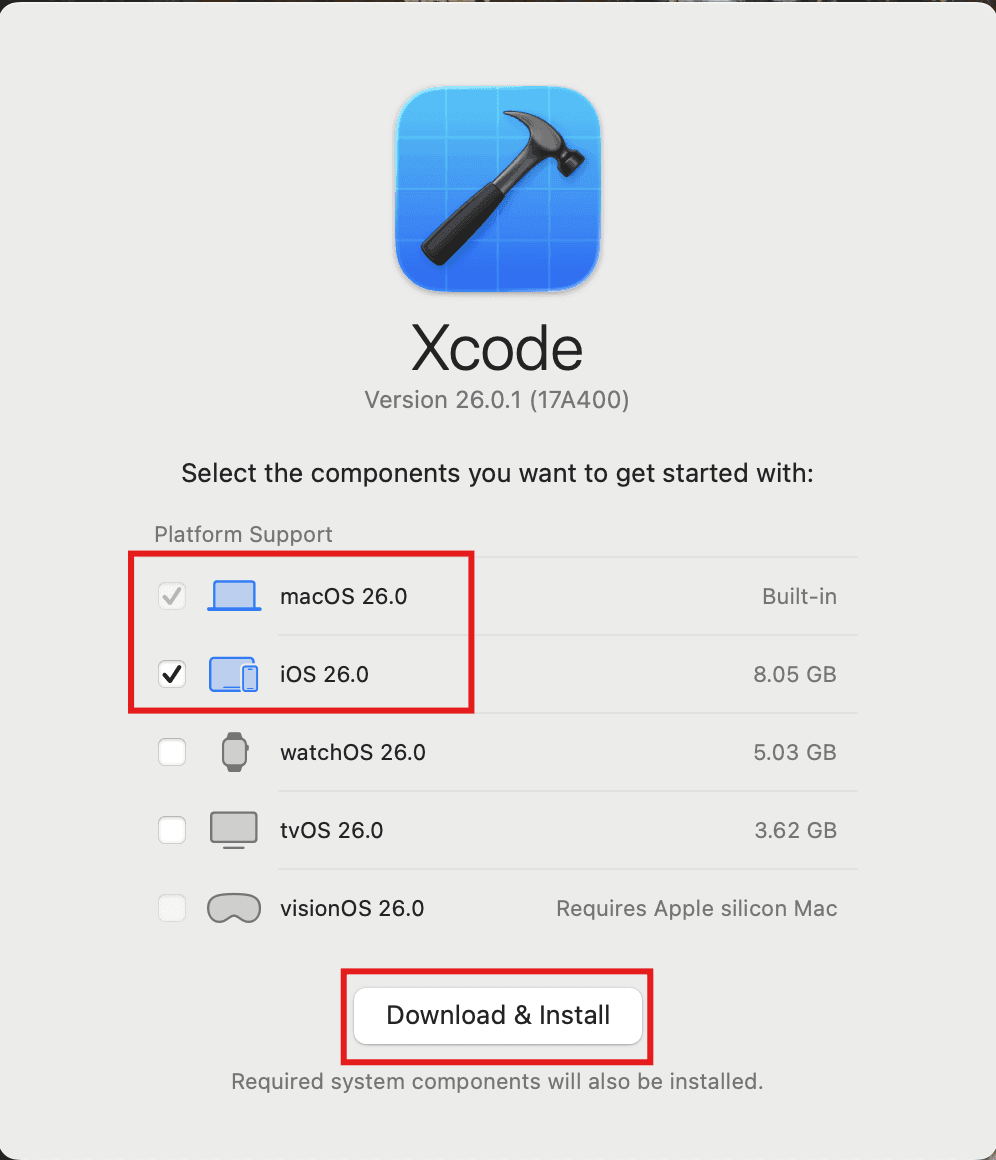
When asked what platforms you'd like to develop for, select platforms macOS and iOS and then select Download & Install.
![Xcode's prompt to install macOS and iOS platforms]()
-
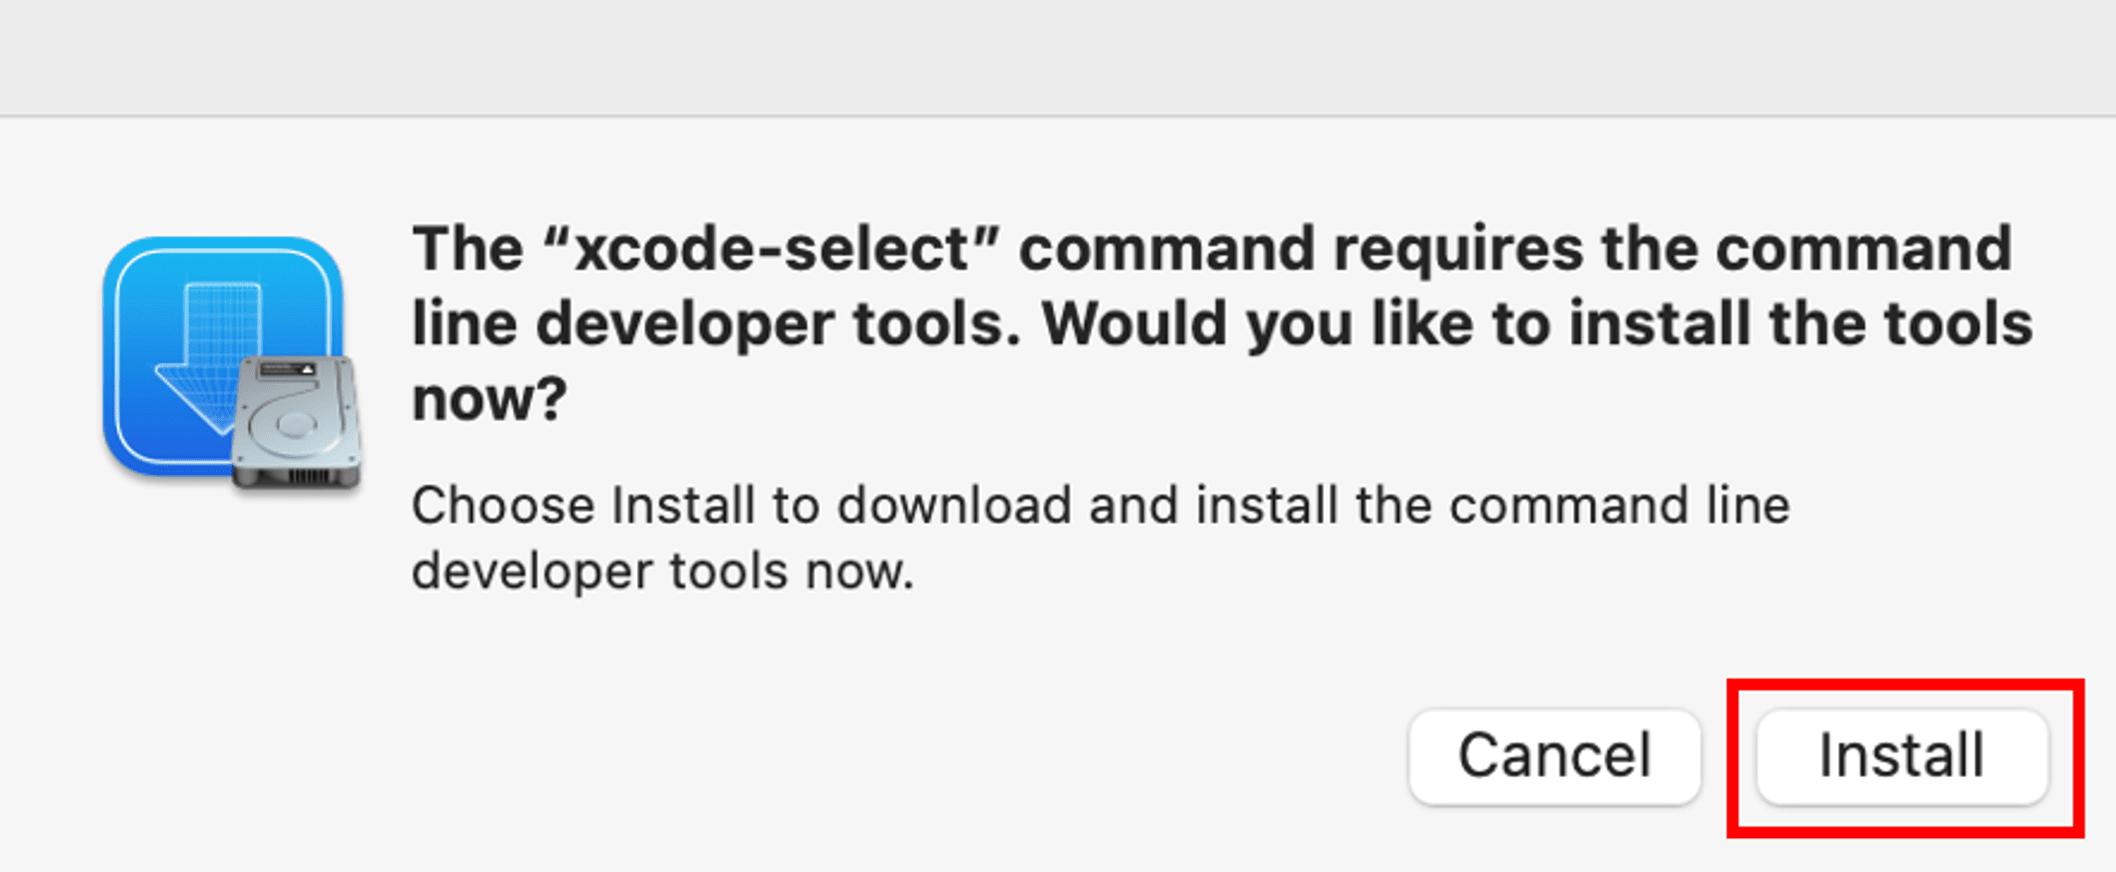
Open a new terminal and install the Xcode command line developer tools by running the following command:
Terminalxcode-select --installWhen prompted to install Xcode command line developer tools, select Install. Lastly, agree to the license agreement.
![Xcode's prompt to install command line developer tools]()
If everything looks good, select the Continue button below to go to the next step.
Create your app
Create a new .NET MAUI app:
- Open Visual Studio 2026.
- Select the Create a new project button.
-
In the Create a new project window, type MAUI App in the search bar. Select the .NET MAUI App template, and then click the Next button.
![Visual Studio new project dialog with .NET MAUI App selected]()
-
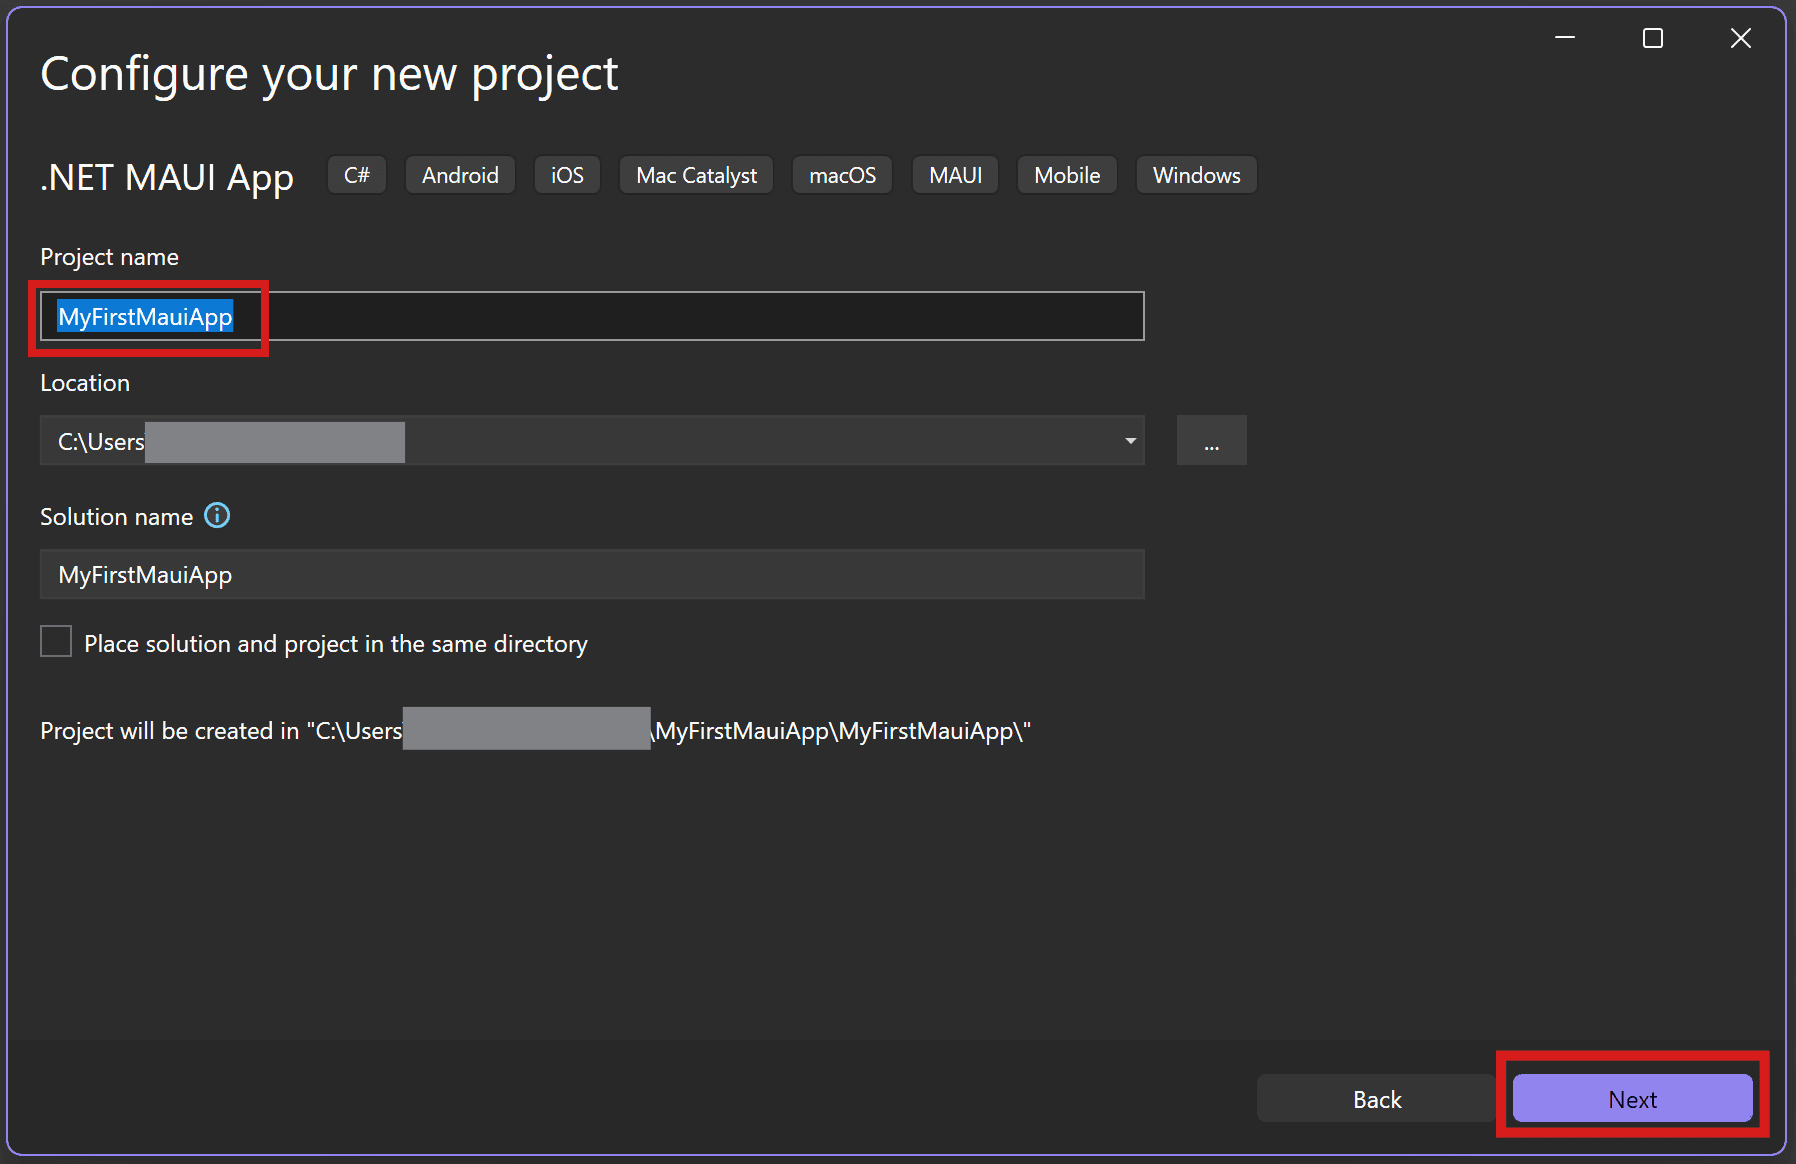
In the Configure your new project window, enter MyFirstMauiApp as the project name and click the Next button.
![Visual Studio configure your new project dialog with MyFirstMauiApp as the project name]()
-
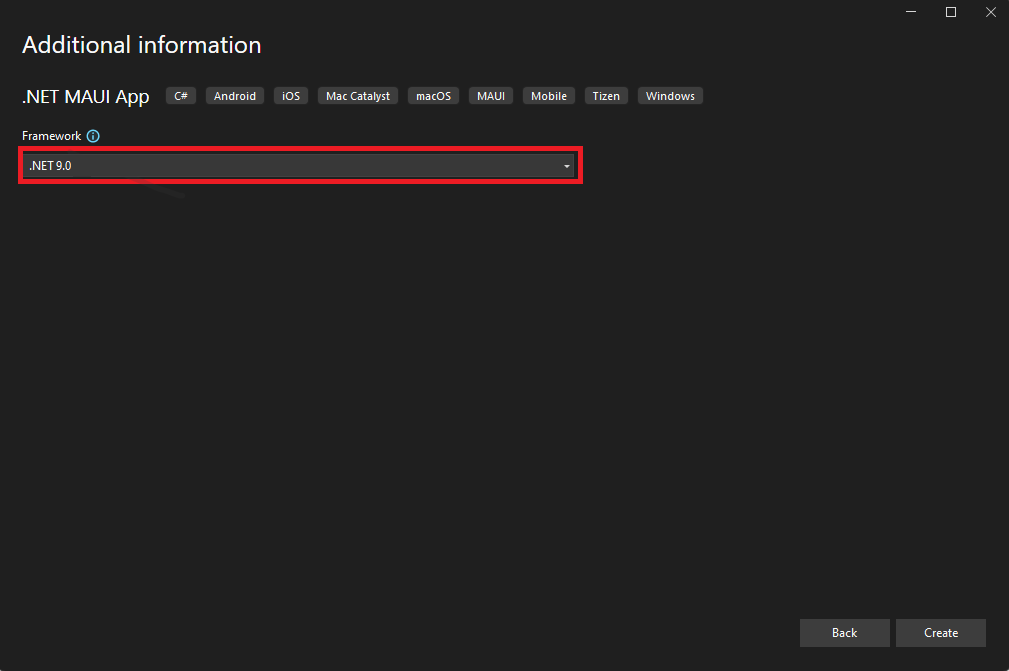
In the Additional information window, select .NET 10.0 in the Framework drop-down if not already selected and click the Create button.
![Visual Studio additional information dialog showing .NET 8.0 in the Framework drop-down.]()
Visual Studio creates the new project. If you get a Windows Security Alert warning you about the firewall blocking some features, select the Allow access button.

Wait for NuGet packages restore process
NuGet is a package manager that will bring in the dependencies of your new app.
The package restore process will start automatically. Wait until the Restored or Ready message appears in the status bar at the bottom left of the screen.

- Open the command palette in VS Code by pressing CMD+SHIFT+P.
- Type .NET: to see the commands you can run with C# Dev Kit!
- Find and select .NET: New Project to create a new .NET project.
- Select .NET MAUI App.
- Choose the folder location you'd like to save your project.
- Name the project MyFirstMauiApp in the command palette when prompted.
If you have a Visual Studio Subscription, sign into your account. If you don't see a prompt pop up, click on the C# icon in VS Code's Status Bar towards the bottom right of your window.

In VS Code's Side Bar, make sure the Explorer is open. Here you should see a folder and the Solution Explorer. If you've opened a new instance of VS Code, the Solution Explorer may be near the bottom of the sidebar.

Under the Solution Explorer, select MainPage.xaml. This file contains the markup that describes the structure and layout of the user interface elements in your MAUI application.

Run your app
This tutorial will focus on deploying a .NET MAUI application to your local Windows machine first. Later, you'll have the option to set up an Android device or emulator.
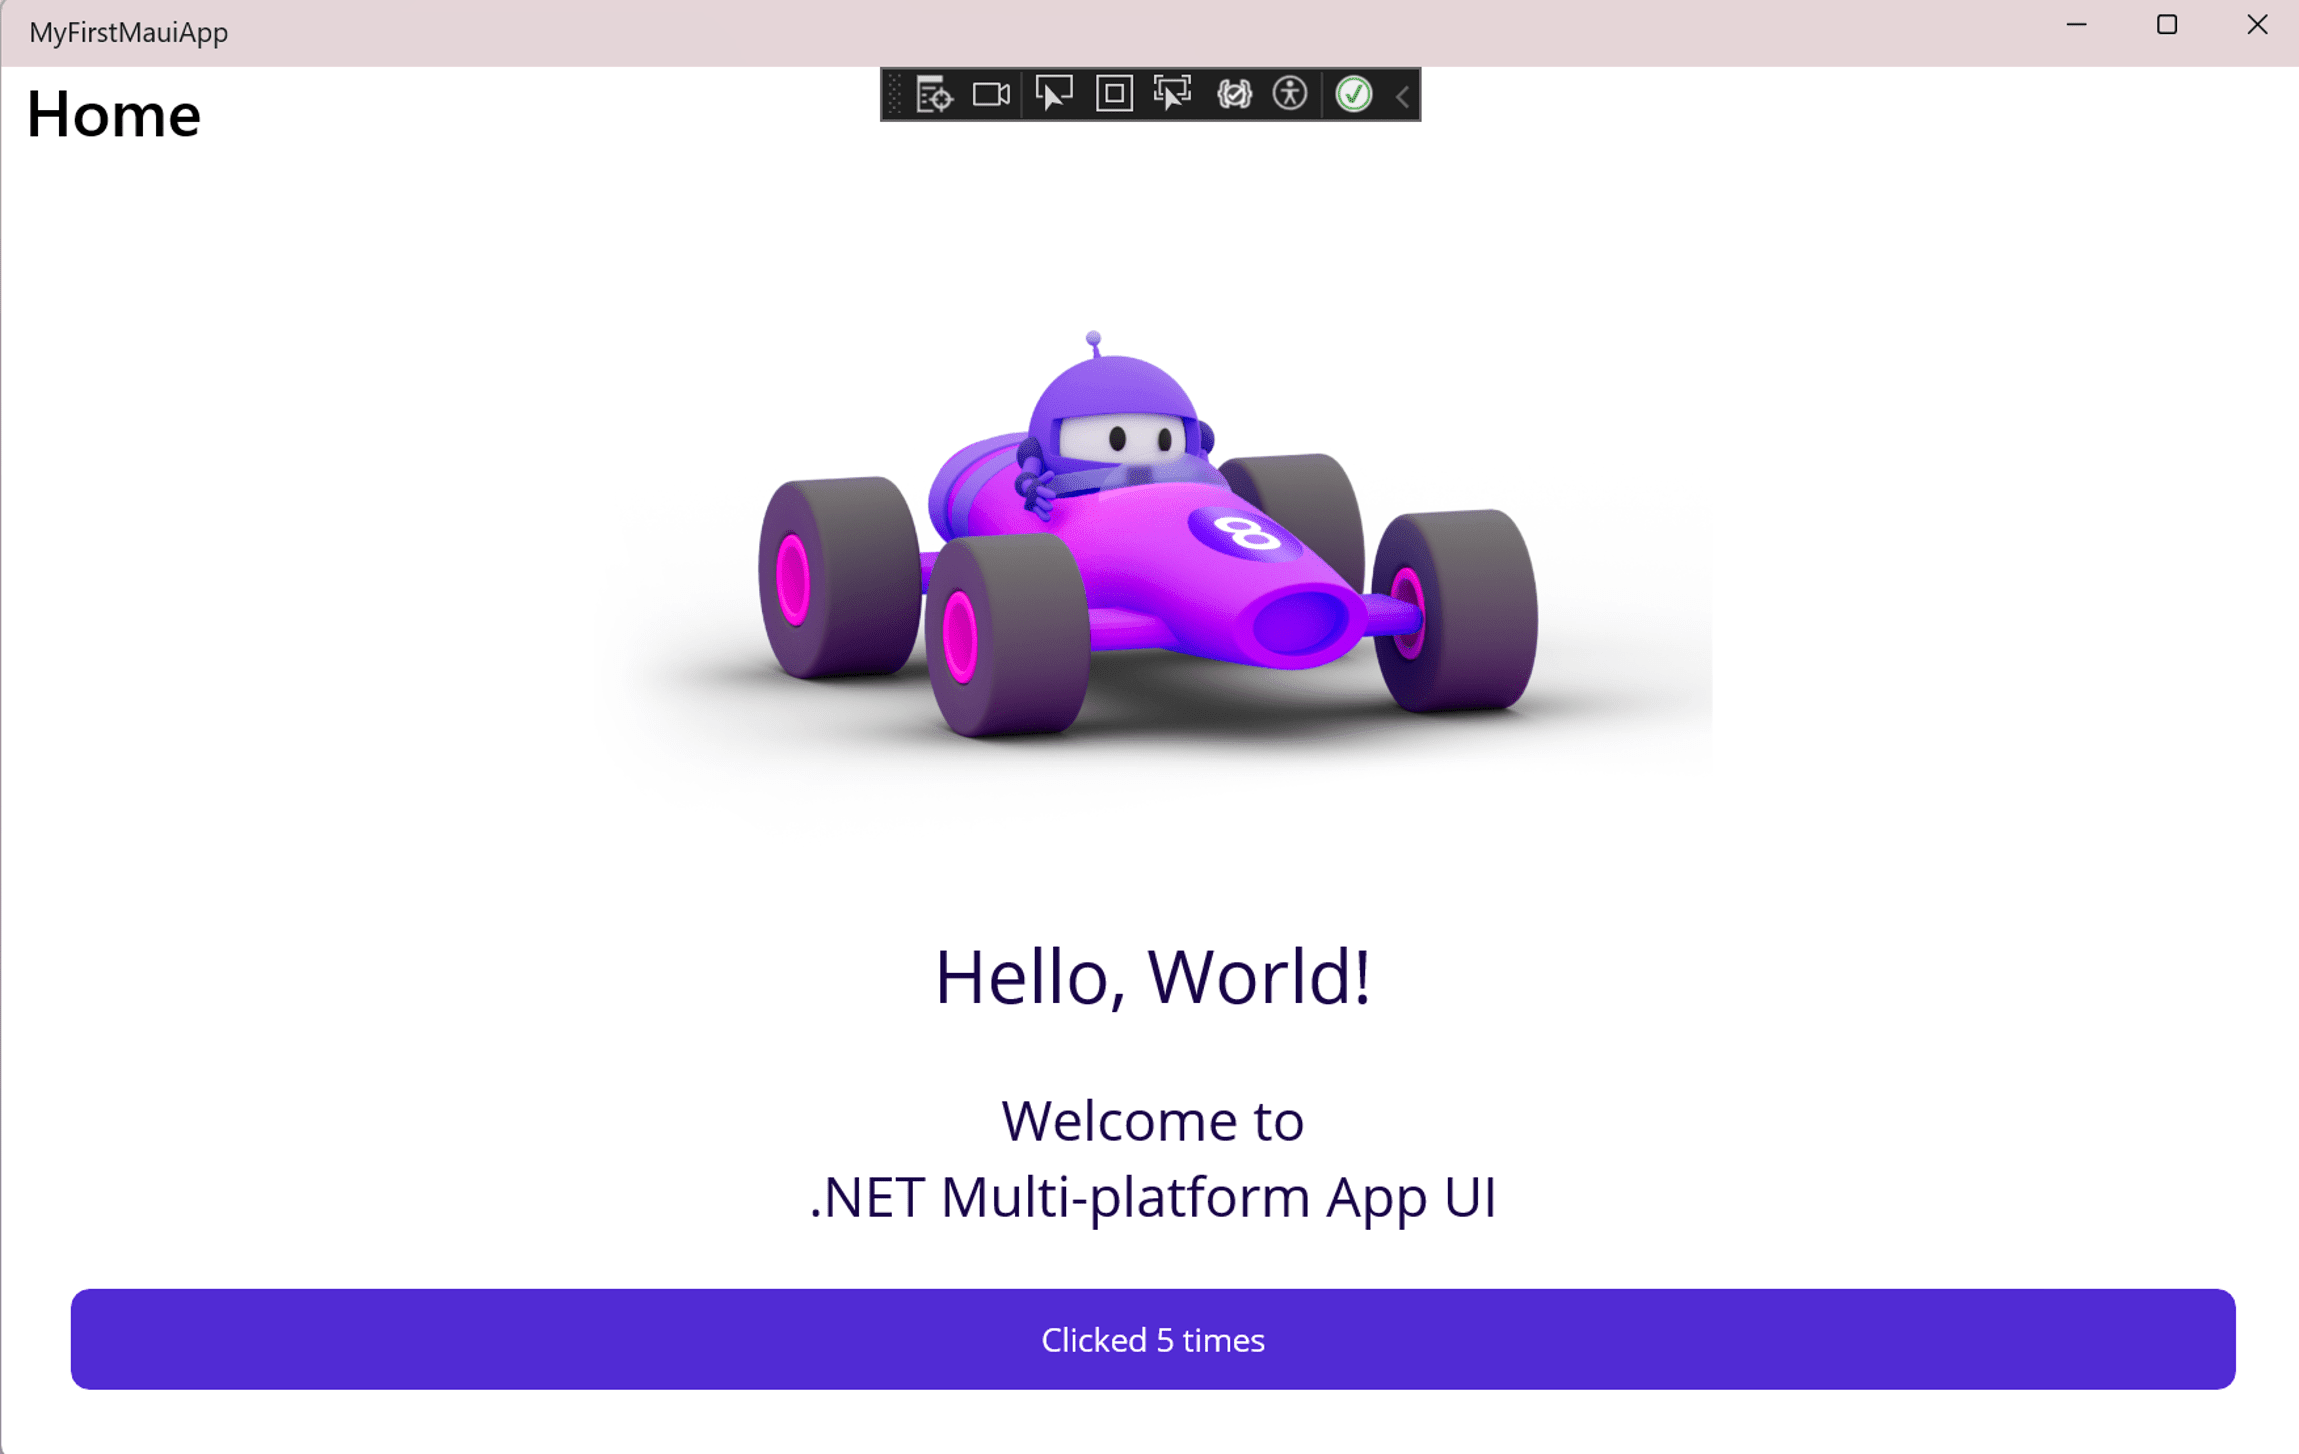
In the Visual Studio toolbar, you should see Windows Machine as the debug target by default. Press the Windows Machine button to build and run the app:

In the running app, select the Click me button a few times and observe that the count of the number of button clicks is incremented:
This tutorial will focus on deploying a .NET MAUI application to your local Mac machine first. Later, you'll have the option to run on an iOS simulator.
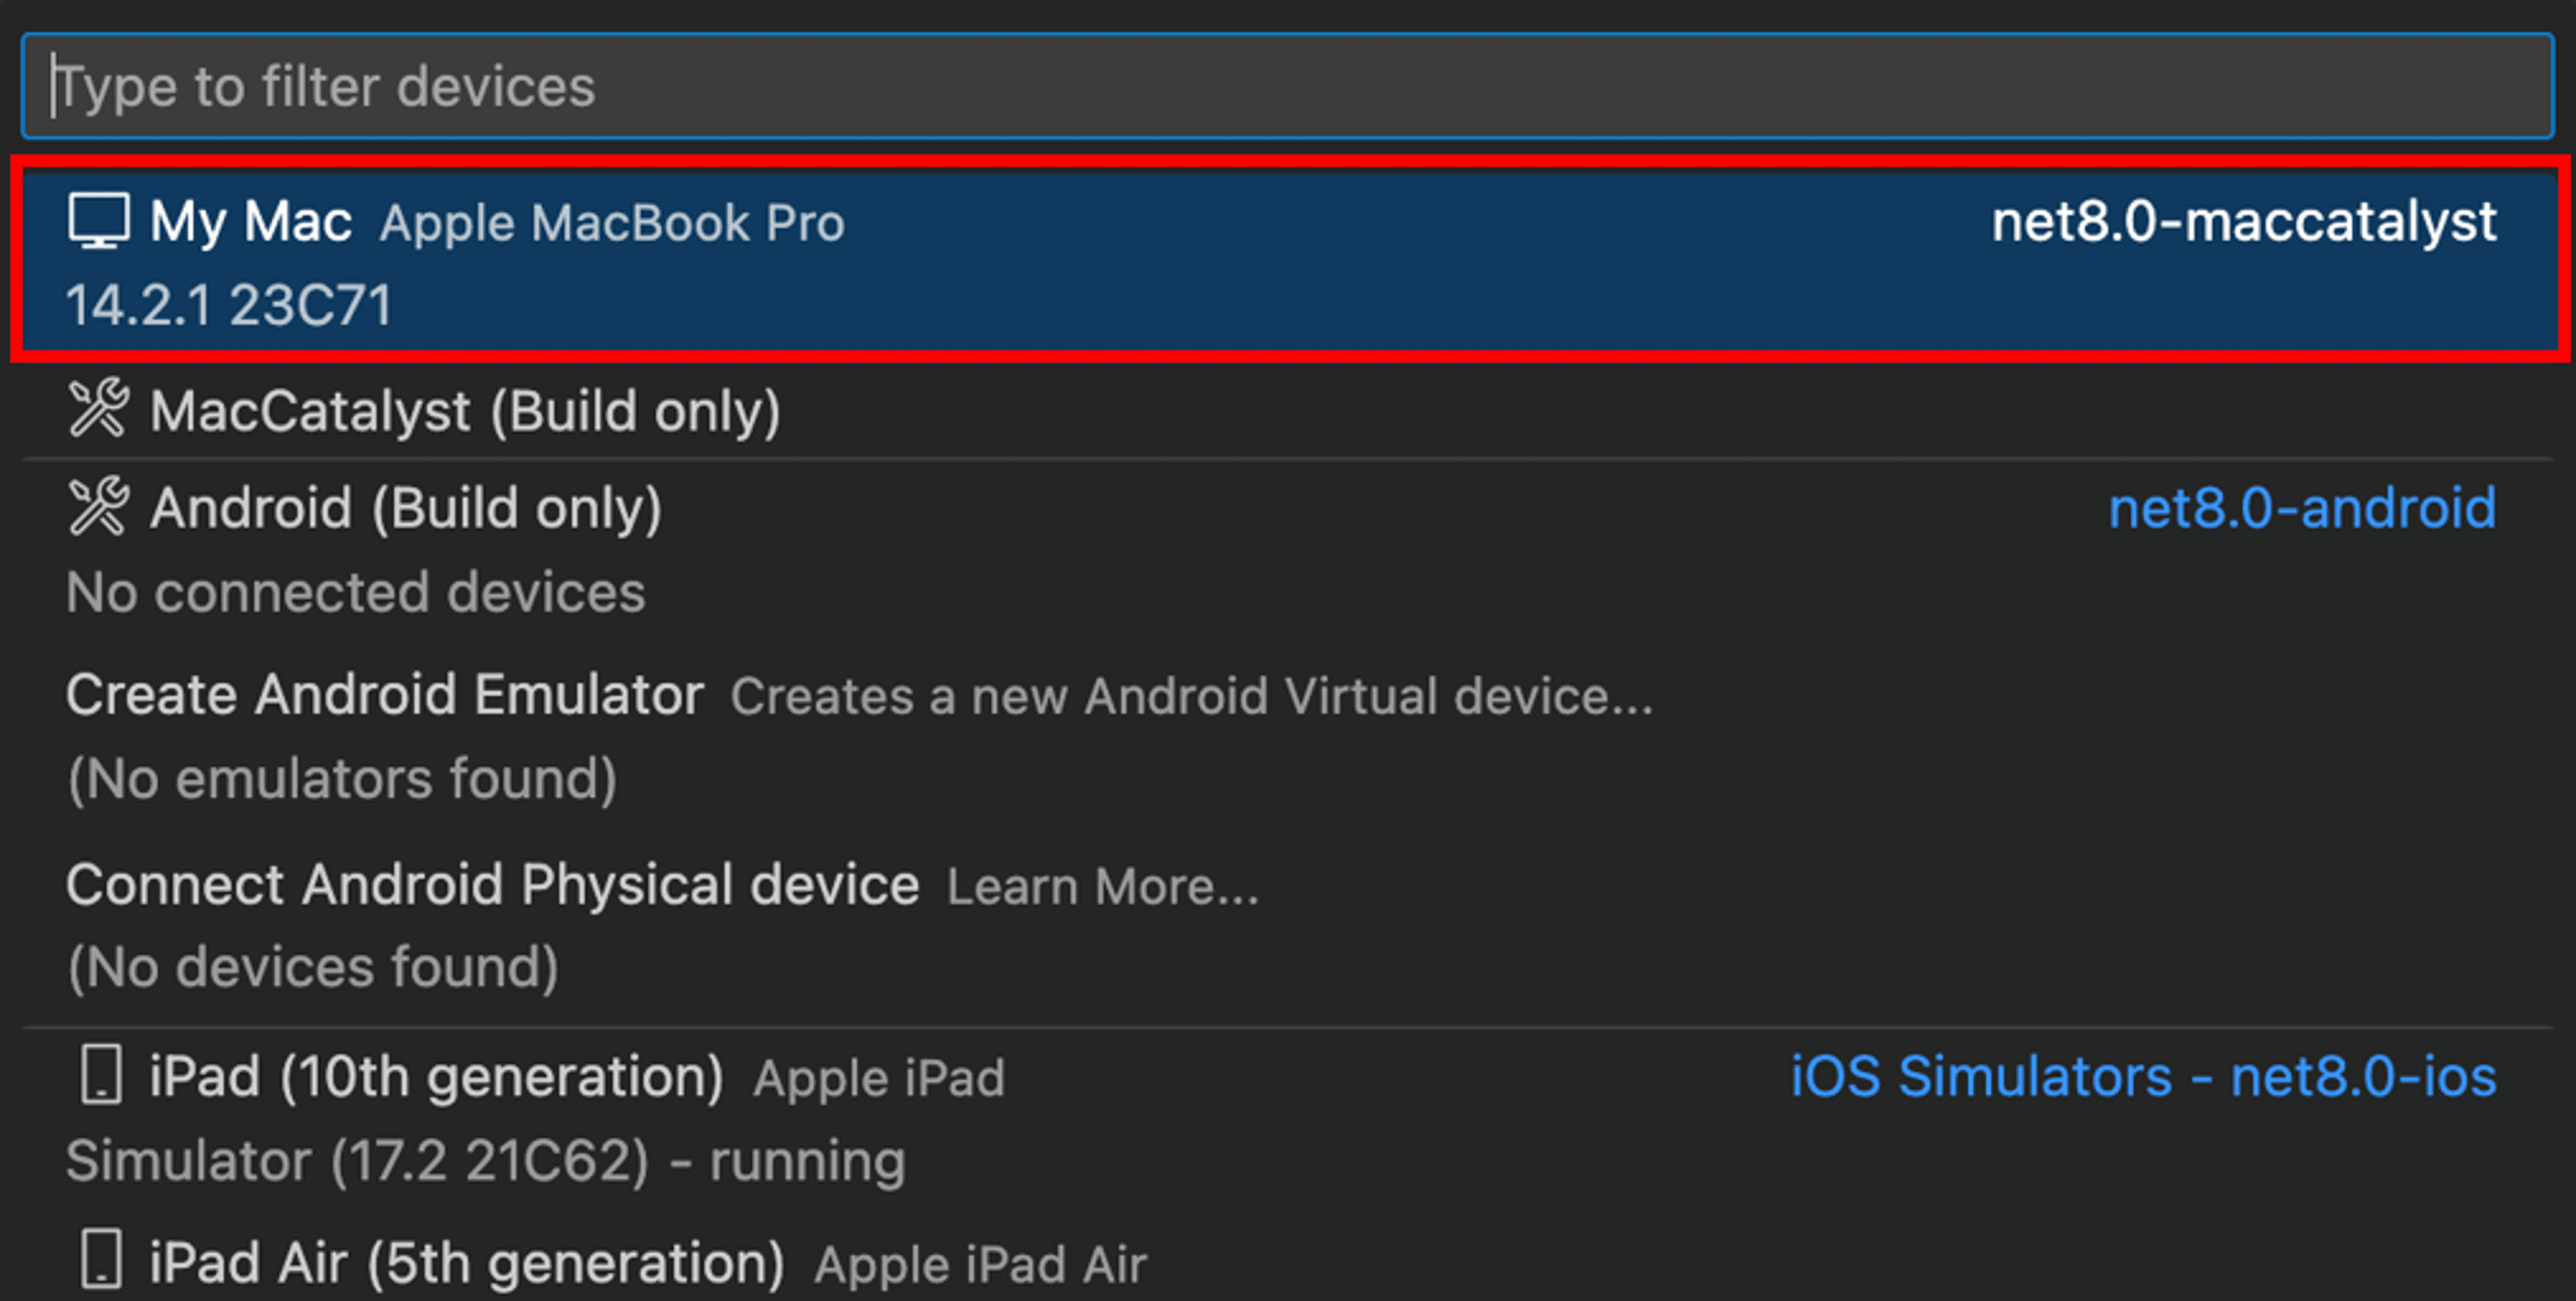
In the bottom right of the VS Code window, you should see curly braces in the Status Bar. Click on the curly braces, and you should see My Mac selected as the default debug target.

If you don't see the curly braces in the Status Bar, make sure to have a relevant project file open like a .cs, .xaml, or .csproj file that belongs to the .NET MAUI project. Alternatively, you can open the command palette in VS Code by pressing CMD+SHIFT+P. And then type .NET MAUI: Pick. That will show you the options to pick a debug platform for your project.
If you don't see anything selected, click on Debug Target and select My Mac from the list. Please note, it may not be the first item in your list upon the first time selecting a debug target.
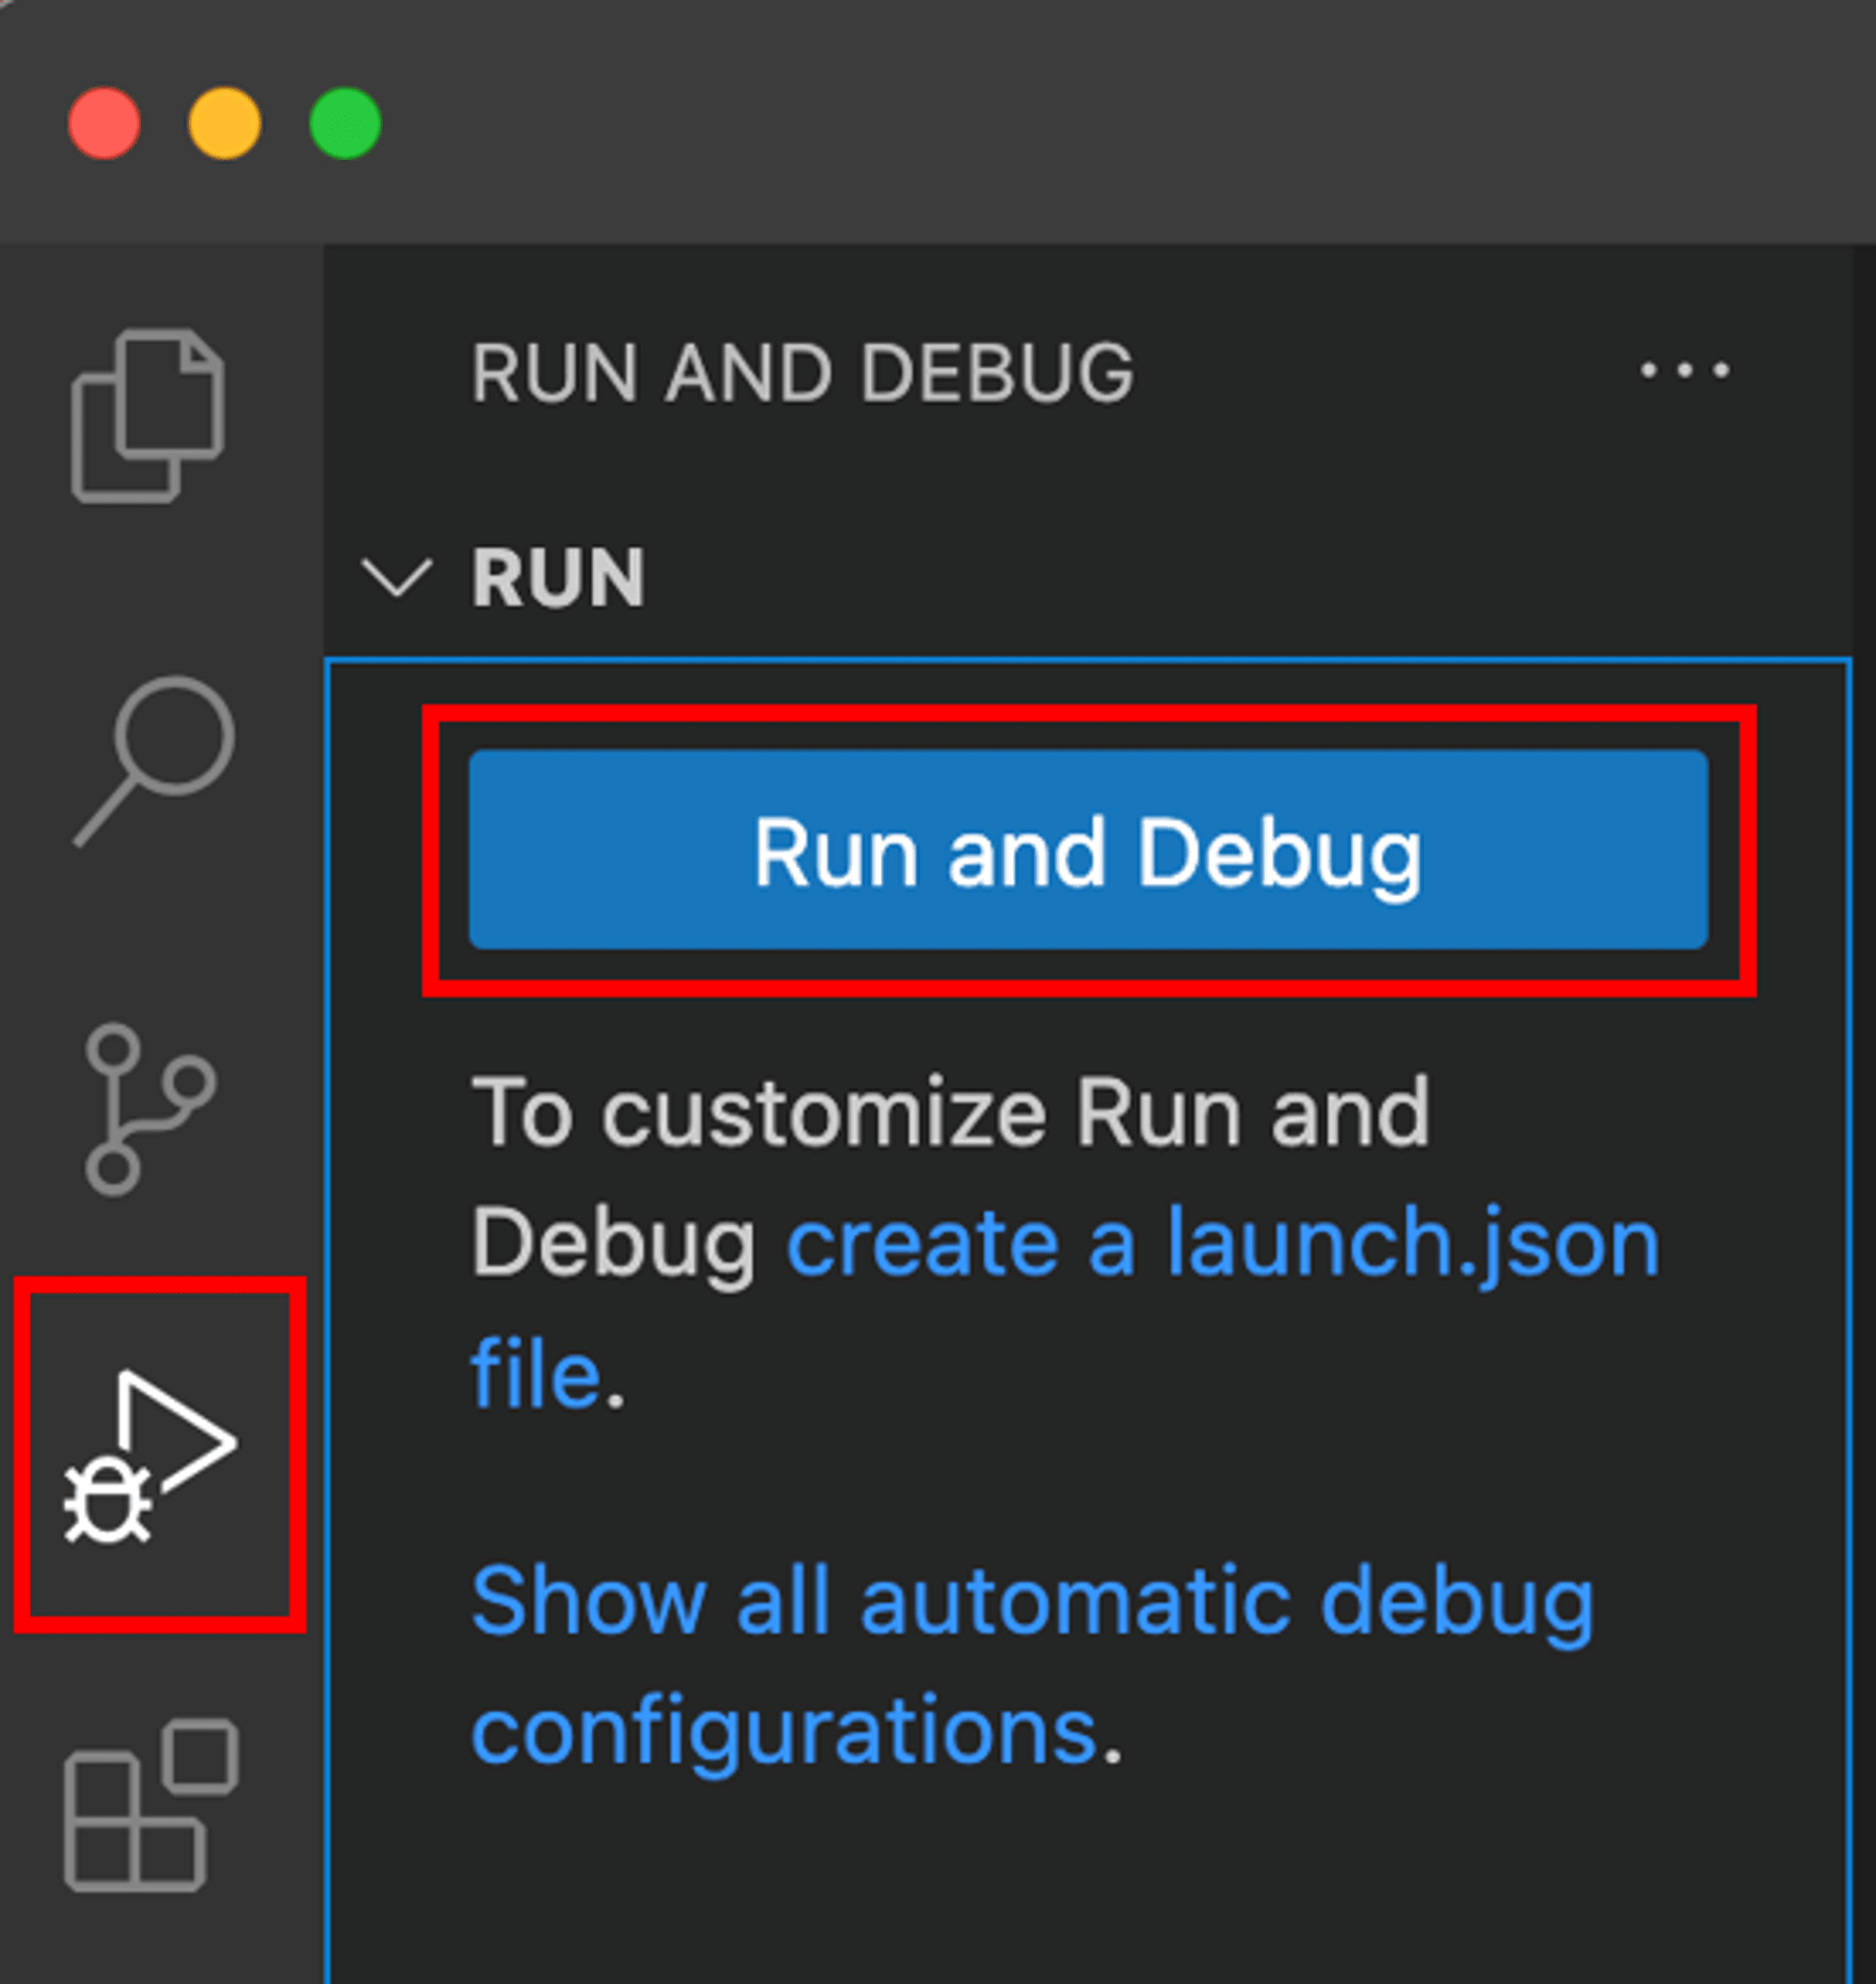
To run the app, click the Run and Debug icon in the VS Code Activity Bar. Then click Run and Debug.
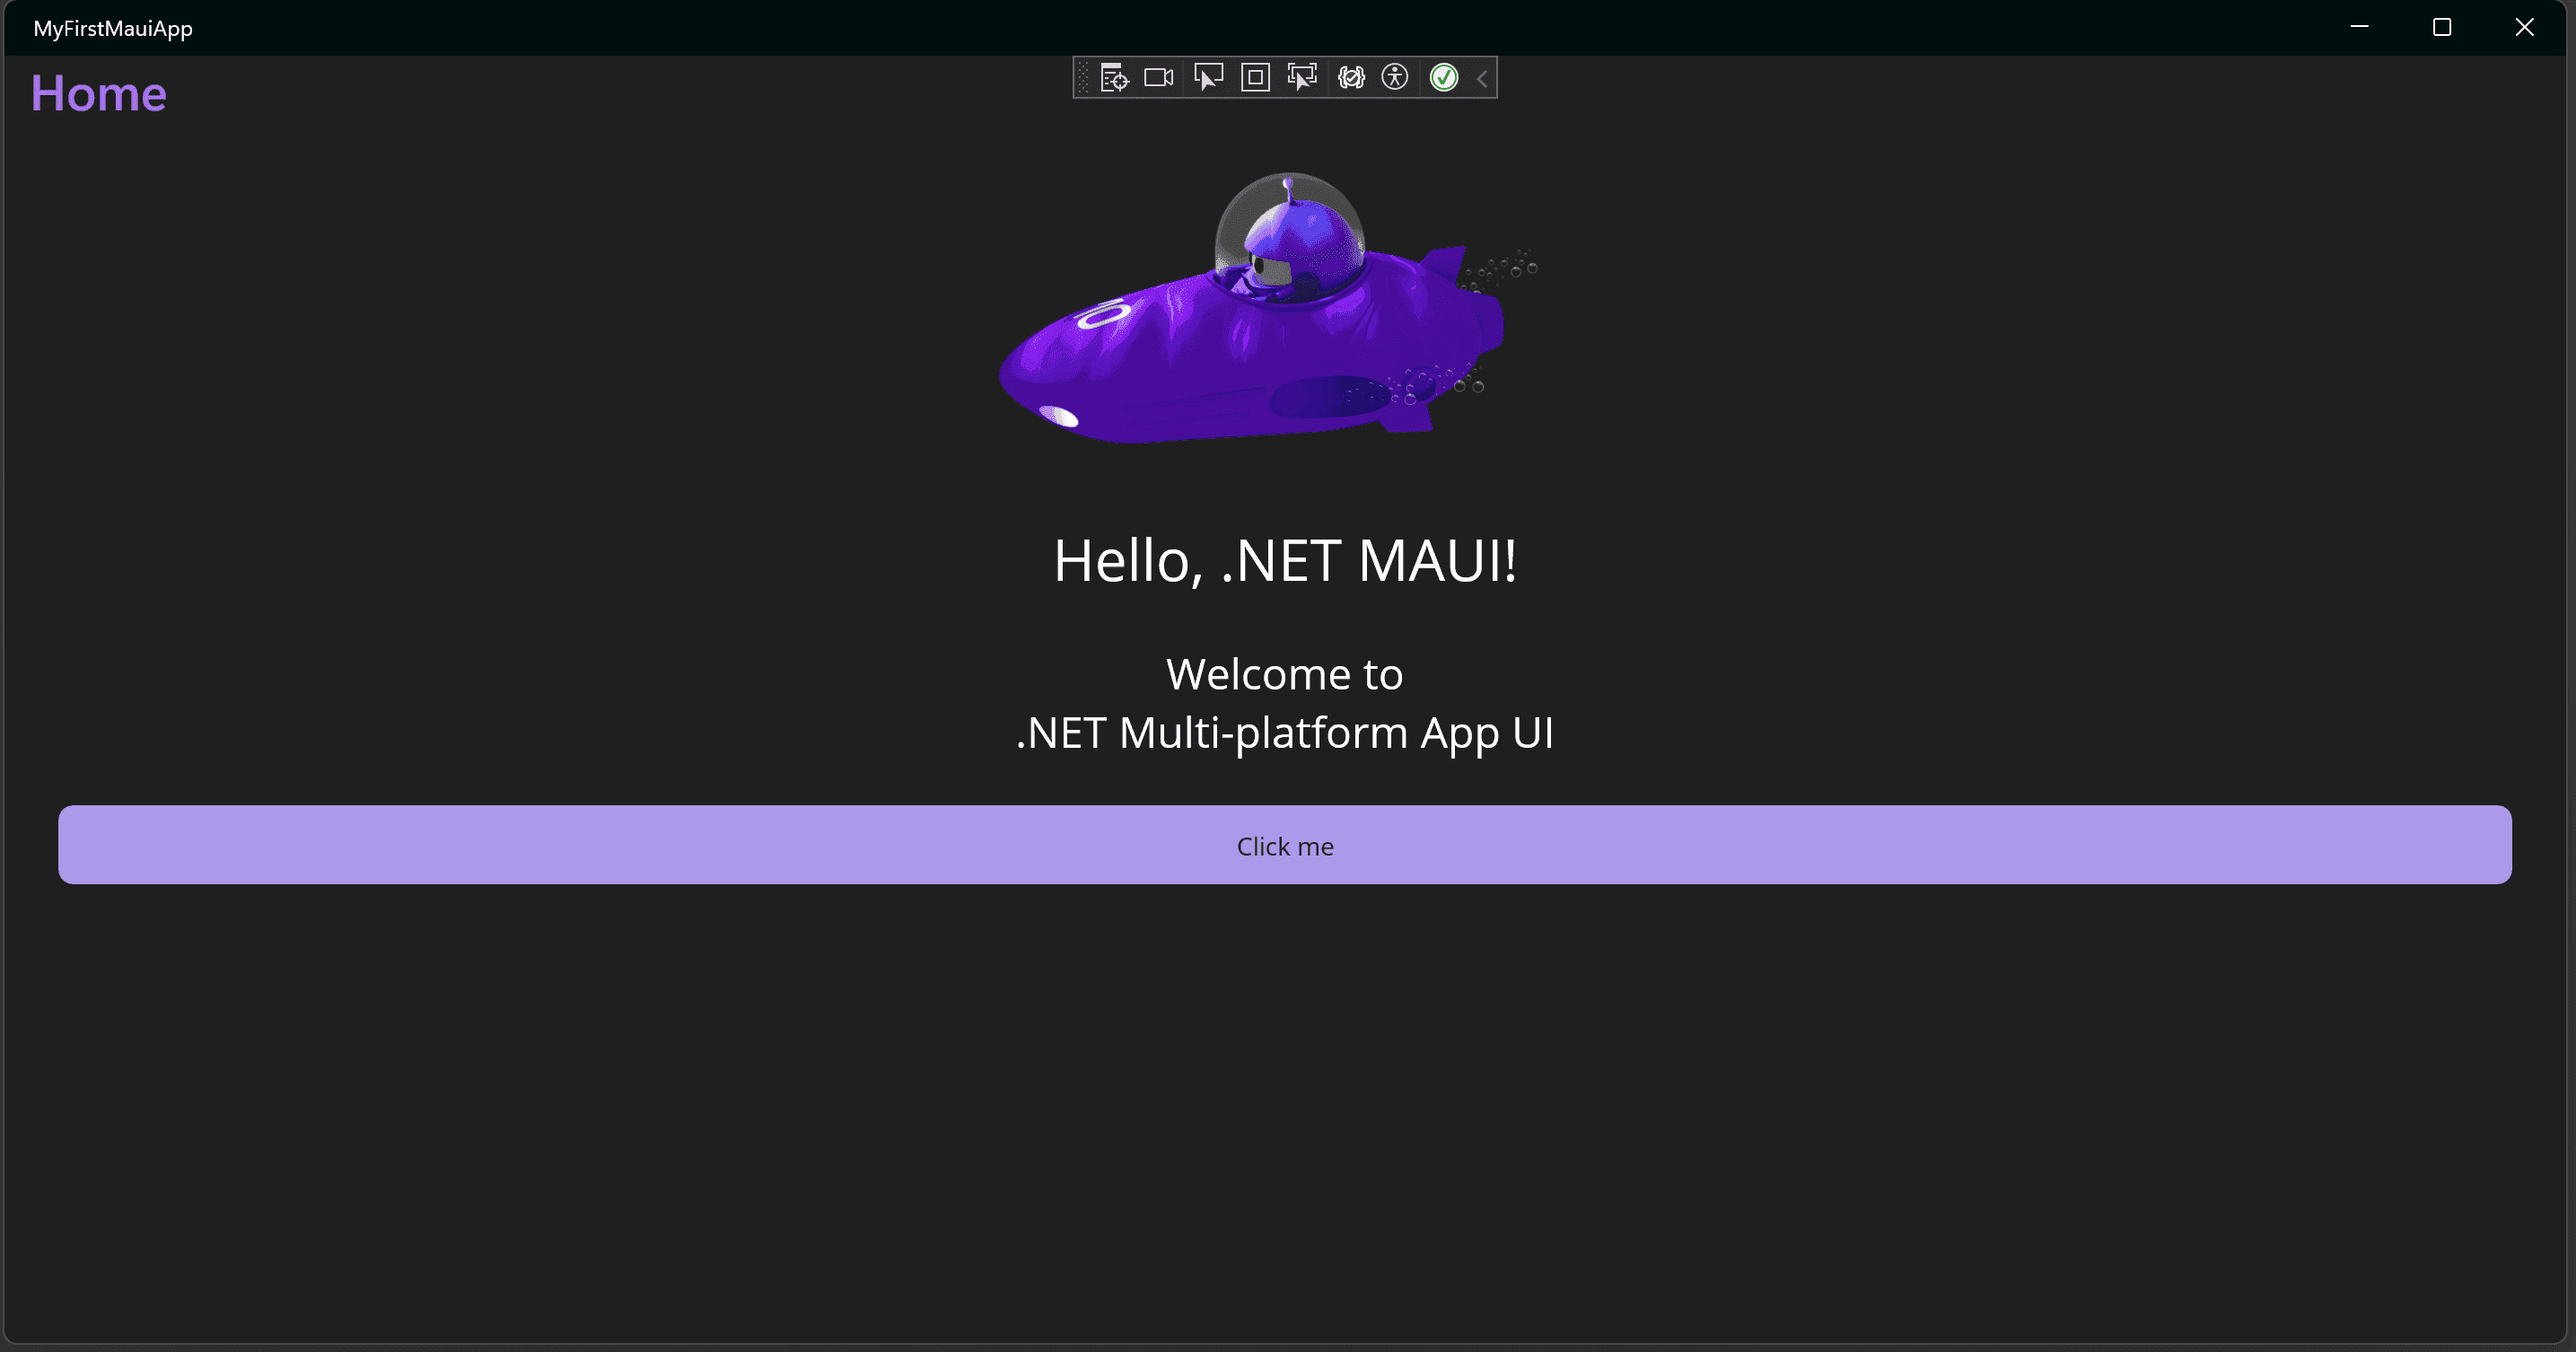
In the running app, select the Click me button a few times and observe that the count of the number of button clicks is incremented:

Congratulations, you've built and run your first .NET MAUI app! Keep the app running and continue the tutorial.
Edit your code
When developing applications with .NET MAUI, XAML Hot Reload is available when you're debugging your application. This means that you can change the XAML user interface (UI) while the application is running and the UI will update automatically.
Go back to Visual Studio and leave the app running. In the Solution Explorer, double-click the MainPage.xaml file under the MyFirstMauiApp project. If you don't see the Solution Explorer pane, select View > Solution Explorer from the main menu (or press CTRL+ALT+L).

Go back to the MainPage.xaml file in VS Code and leave the app running.
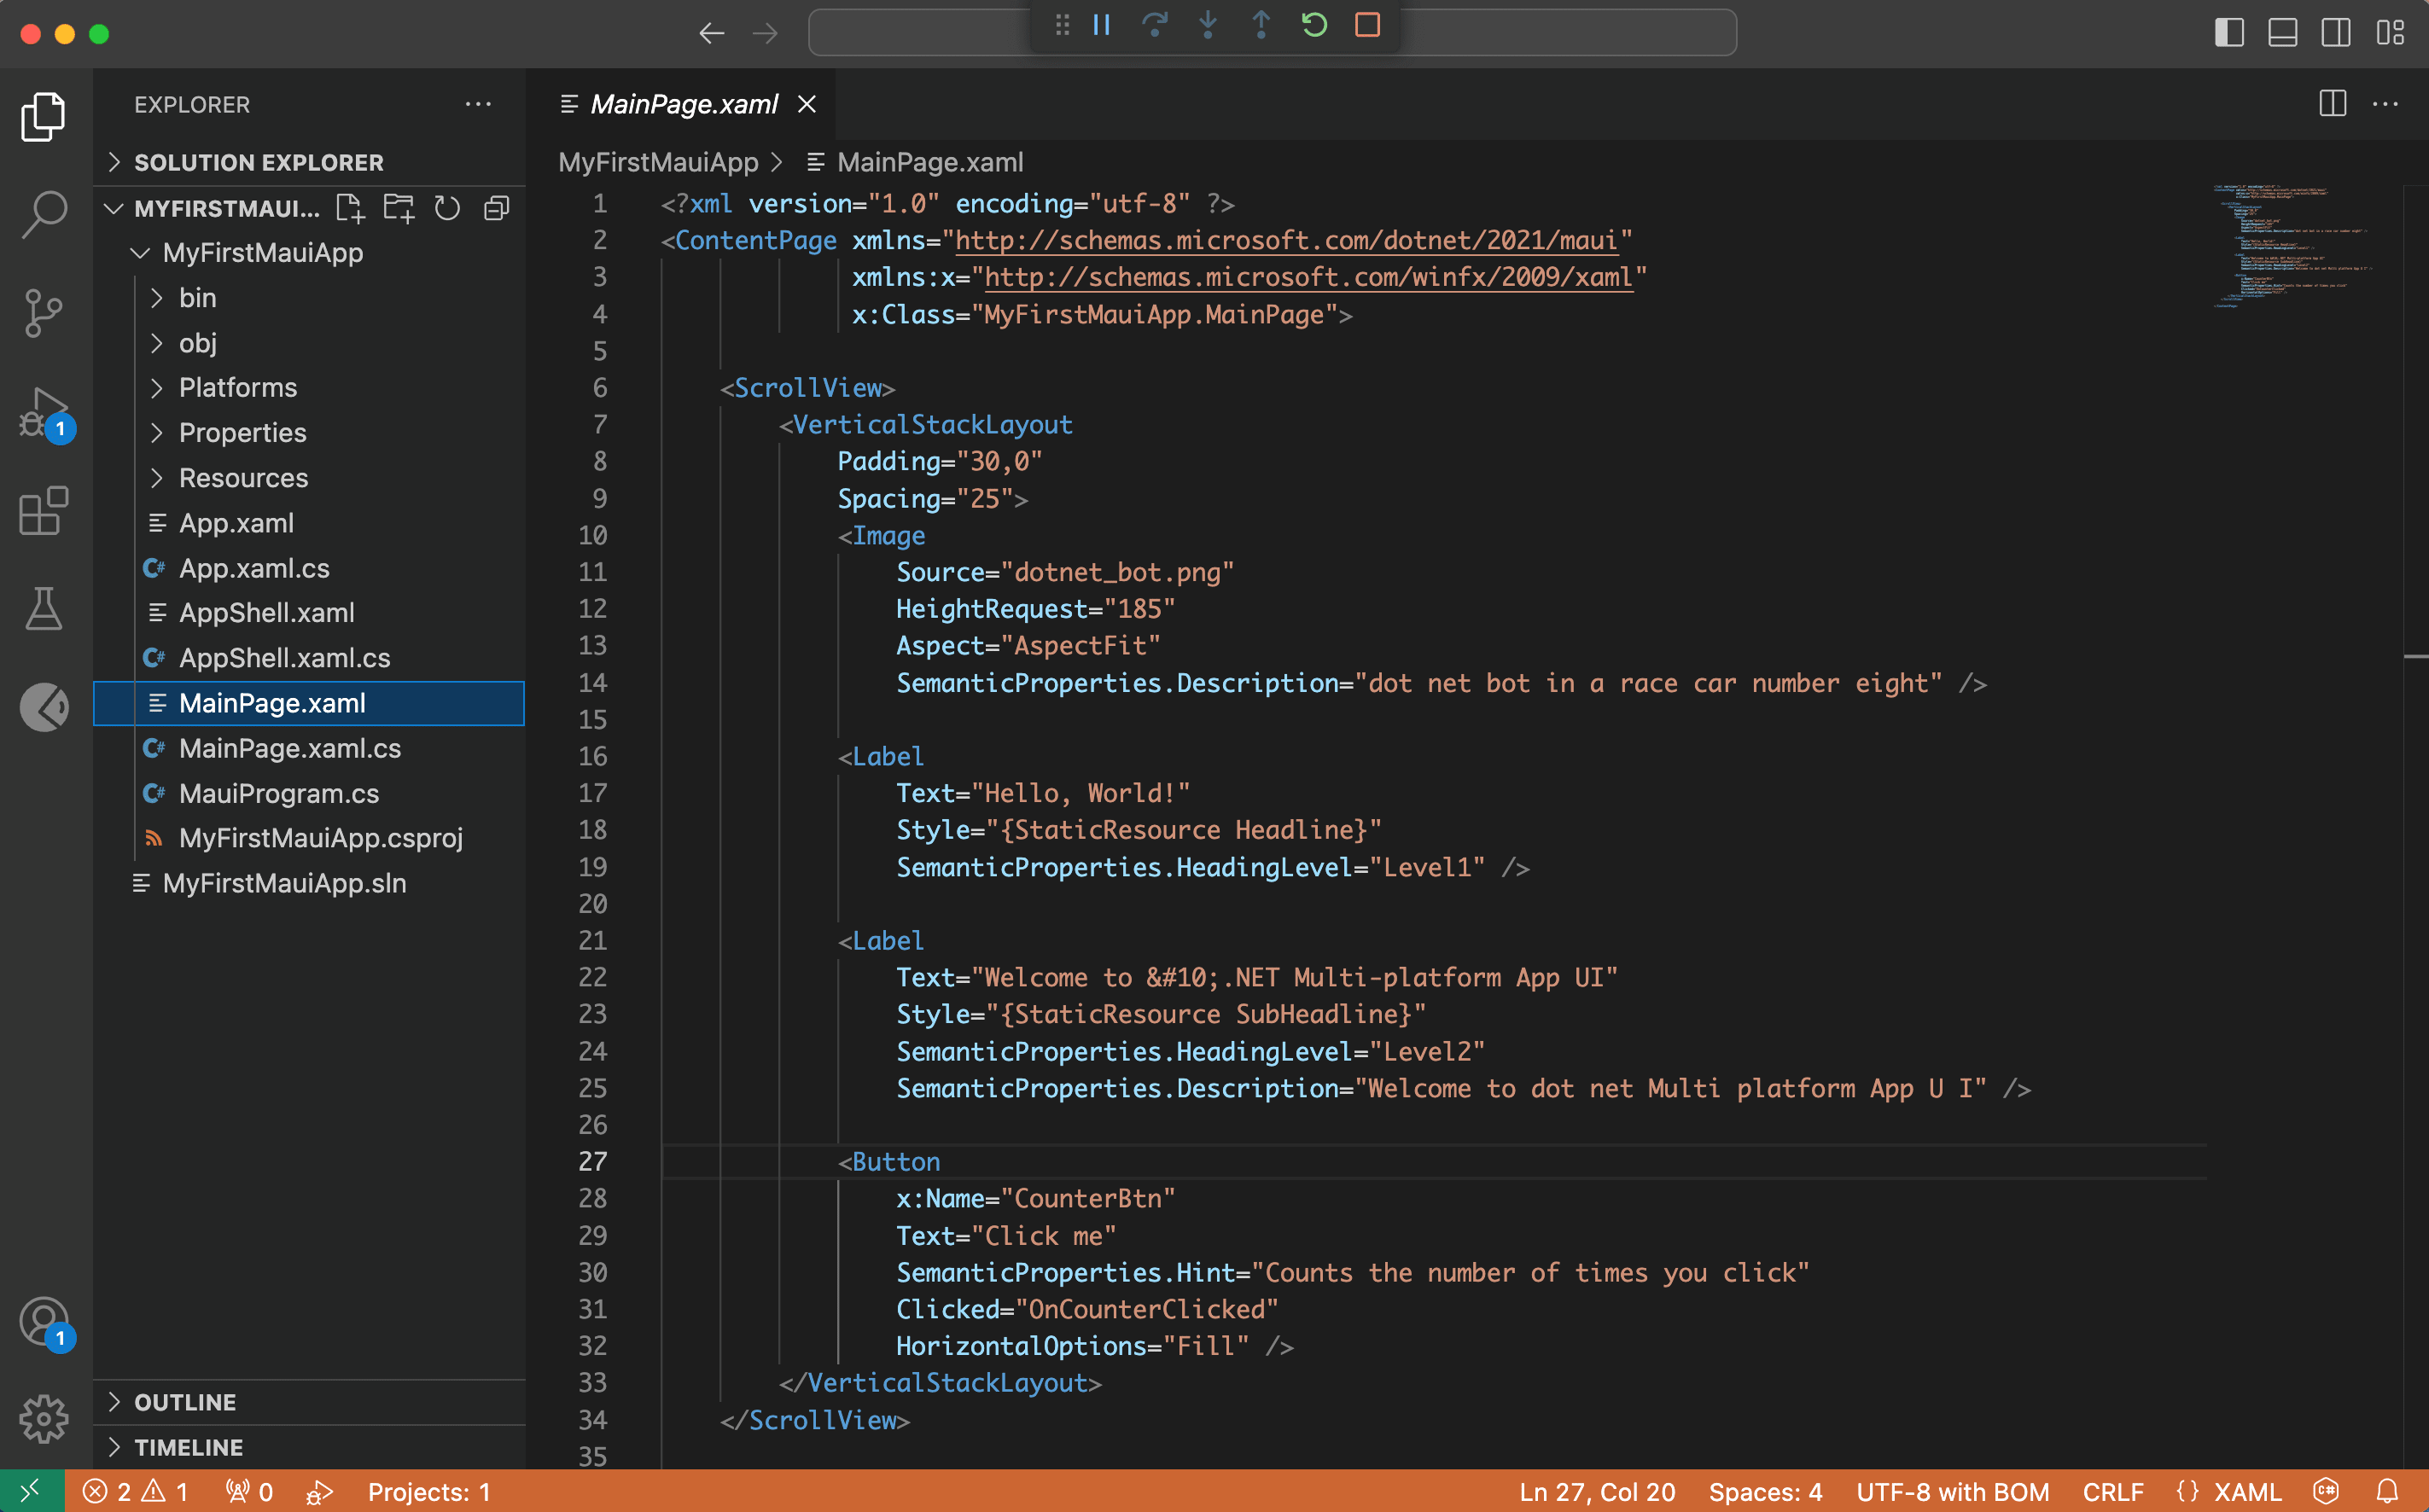
Currently, the Text of the second Label on line 17 is set to say Hello, World! as shown in the following code:
<Label
    Text="Hello, World!"
    Style="{StaticResource Headline}"
    SemanticProperties.HeadingLevel="Level1"  />
Update the text to read Hello, .NET MAUI!:
<Label
    Text="Hello, .NET MAUI!"
    Style="{StaticResource Headline}"
    SemanticProperties.HeadingLevel="Level1"  />
The app UI updates automatically as you make changes.

When developing applications with .NET MAUI, you can also use .NET Hot Reload to reload your C# code. Let's modify the logic in the application to increment the count by 10 instead of by 1 when you click the button.
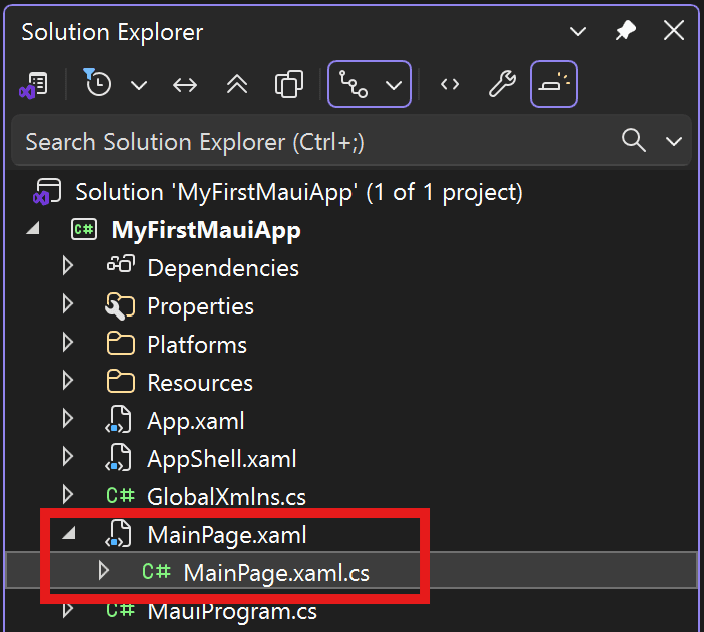
Open MainPage.xaml.cs (this file is nested under MainPage.xaml, or you can right-click and select View Code from the menu).
The OnCounterClicked method on that file currently has the following code:
private void OnCounterClicked(object sender, EventArgs e)
{
    count++;

    if (count == 1)
        CounterBtn.Text = $"Clicked {count} time";
    else
        CounterBtn.Text = $"Clicked {count} times";

    SemanticScreenReader.Announce(CounterBtn.Text);
}
Update the count++; to increment by 10 by changing it to count += 10;.
private void OnCounterClicked(object sender, EventArgs e)
{
count += 10;
if (count == 1)
CounterBtn.Text = $"Clicked {count} time";
else
CounterBtn.Text = $"Clicked {count} times";
SemanticScreenReader.Announce(CounterBtn.Text);
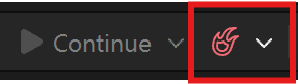
}To apply your code changes, save the file and select the Hot Reload button in Visual Studio or select ALT+F10.
Select the Click me button and see it increment by 10. Well done! You can close the running app now.

Run on mobile device
You can decide to deploy to one or more of the platforms based on your development environment. You just ran and deployed your app to Windows. Now, let's set up an Android device or emulator.
Activate Hyper-V
In your Windows Search Bar, type Windows features and select Turn Windows features on or off.

Make sure the Hyper-V box is checked and select Ok.

You'll need to reboot your machine at this time for the change to take effect.
Android SDK Install
Open Visual Studio and your MyFirstMauiApp solution. From the debug target drop-down menu, select net8.0-android under Framework.

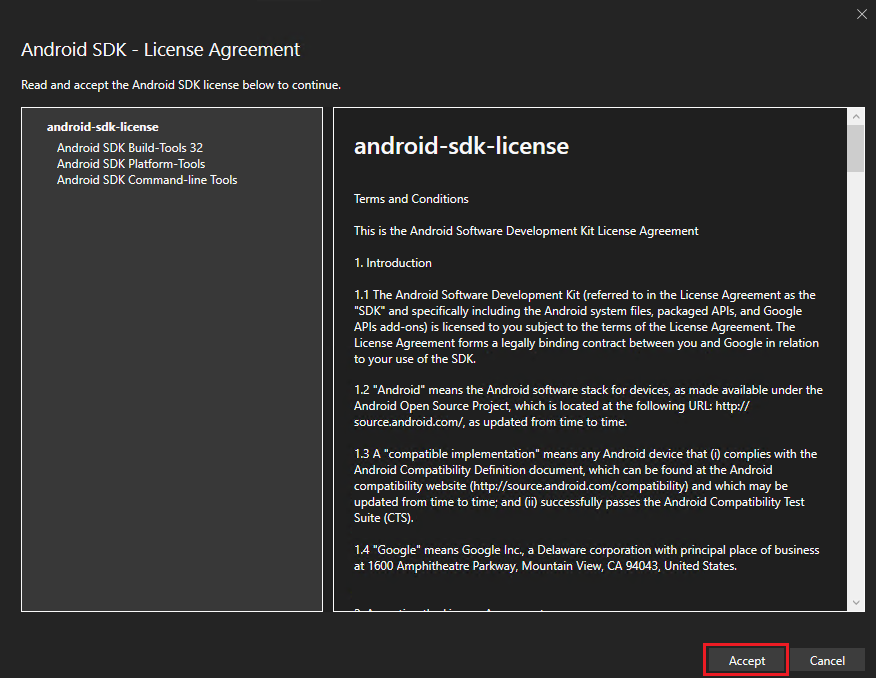
Specific versions of the Android SDK are required to build projects. If you haven't accepted the Android SDK license, you'll see the following error message on the Error List window.
![]()
Double click the message to start the license acceptance process. Click Accept for each of the licenses present and the automatic installation will begin.
Set up Android emulator
If you don't have an Android device to deploy to, you can follow these steps to set up an Android emulator. If you've already done this or want to use your own Android device, you can skip this step.
If this is your first time building a .NET MAUI application, you'll see Android Emulator selected in the debug target drop-down menu. Click it to start the creation process. If a license acceptence dialog shows up, select Accept.

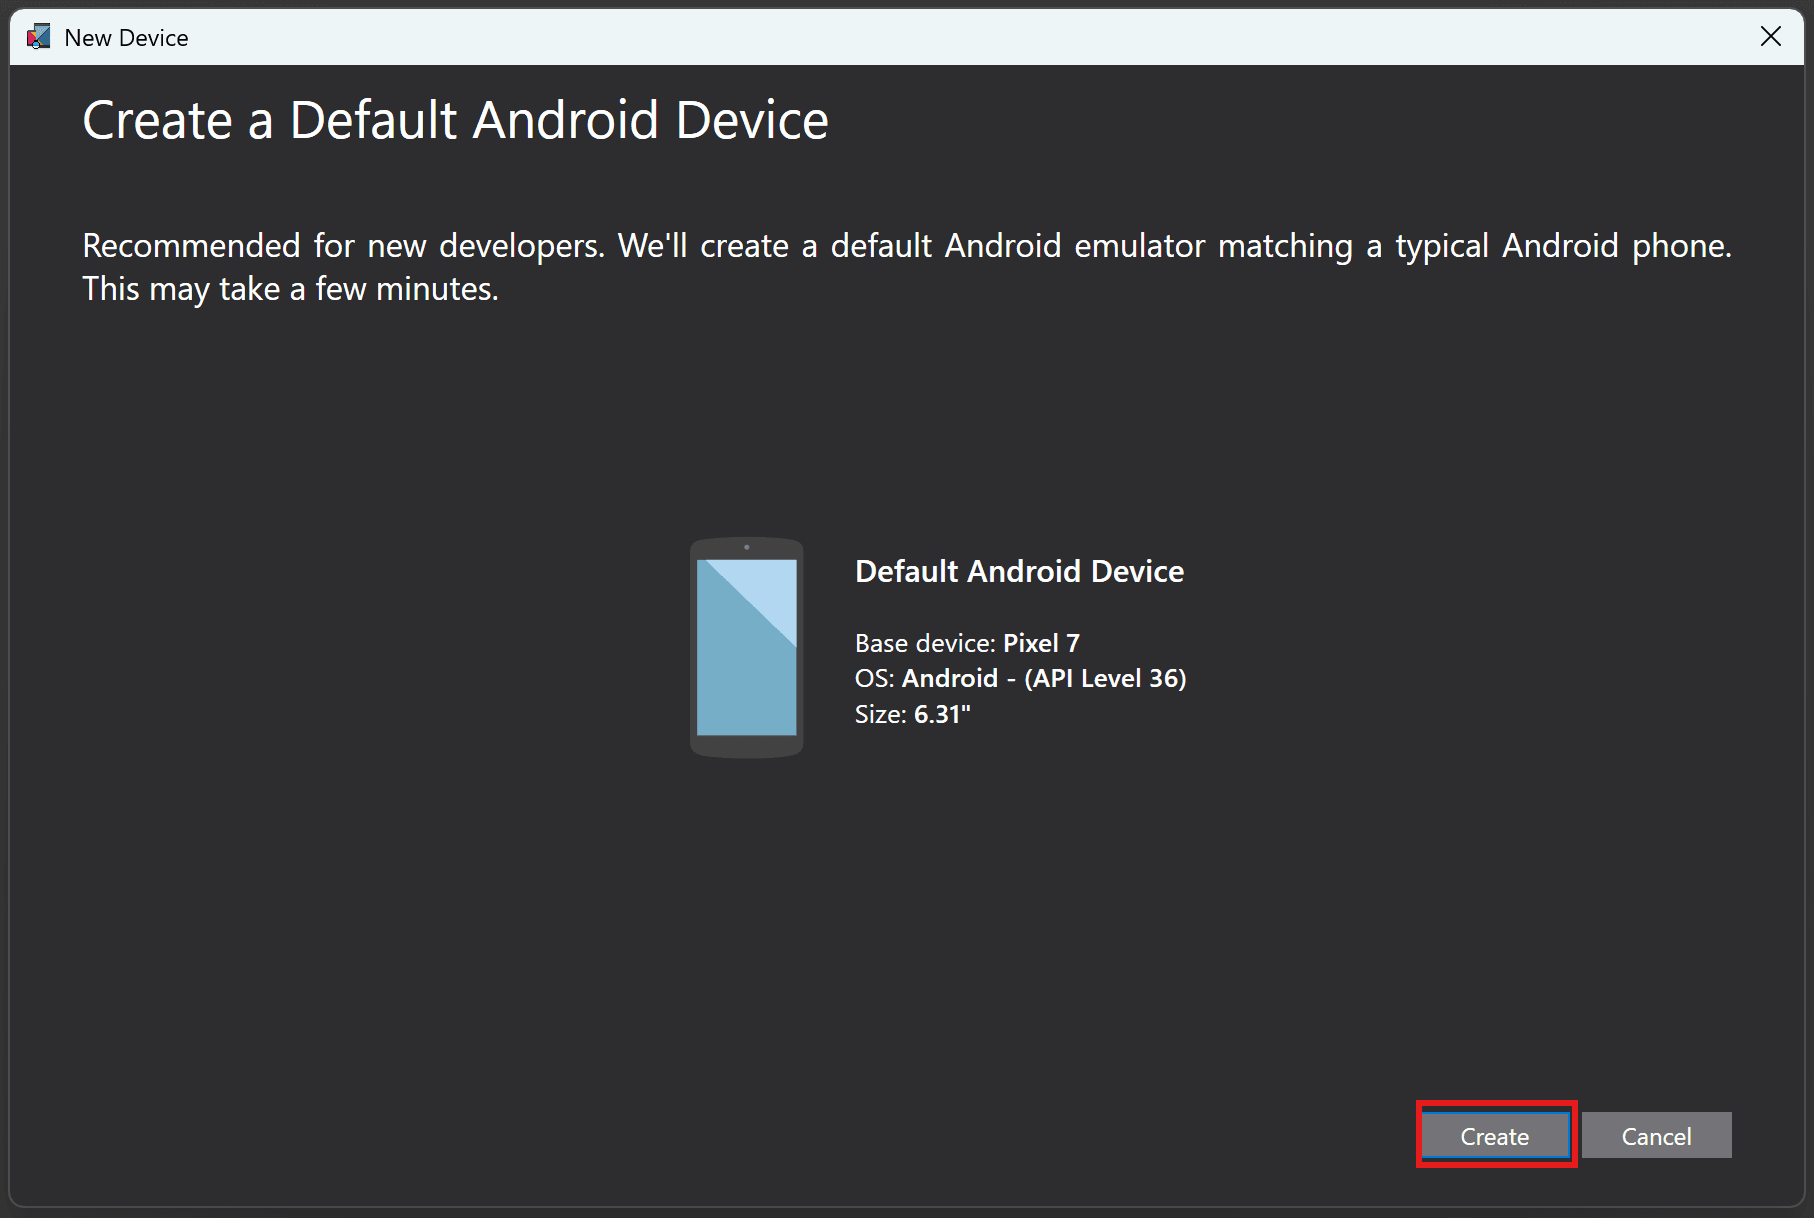
This brings up the New Device window. Select the Create button to create an emulator with default settings. This will download the emulator images and finalize the creation of the emulator for use in Visual Studio. This step might take a while.
Don't worry if the API Level you see is different from the images. It may be 36 or higher.
Once the emulator has been created, you'll see a button that says Start. Click it.
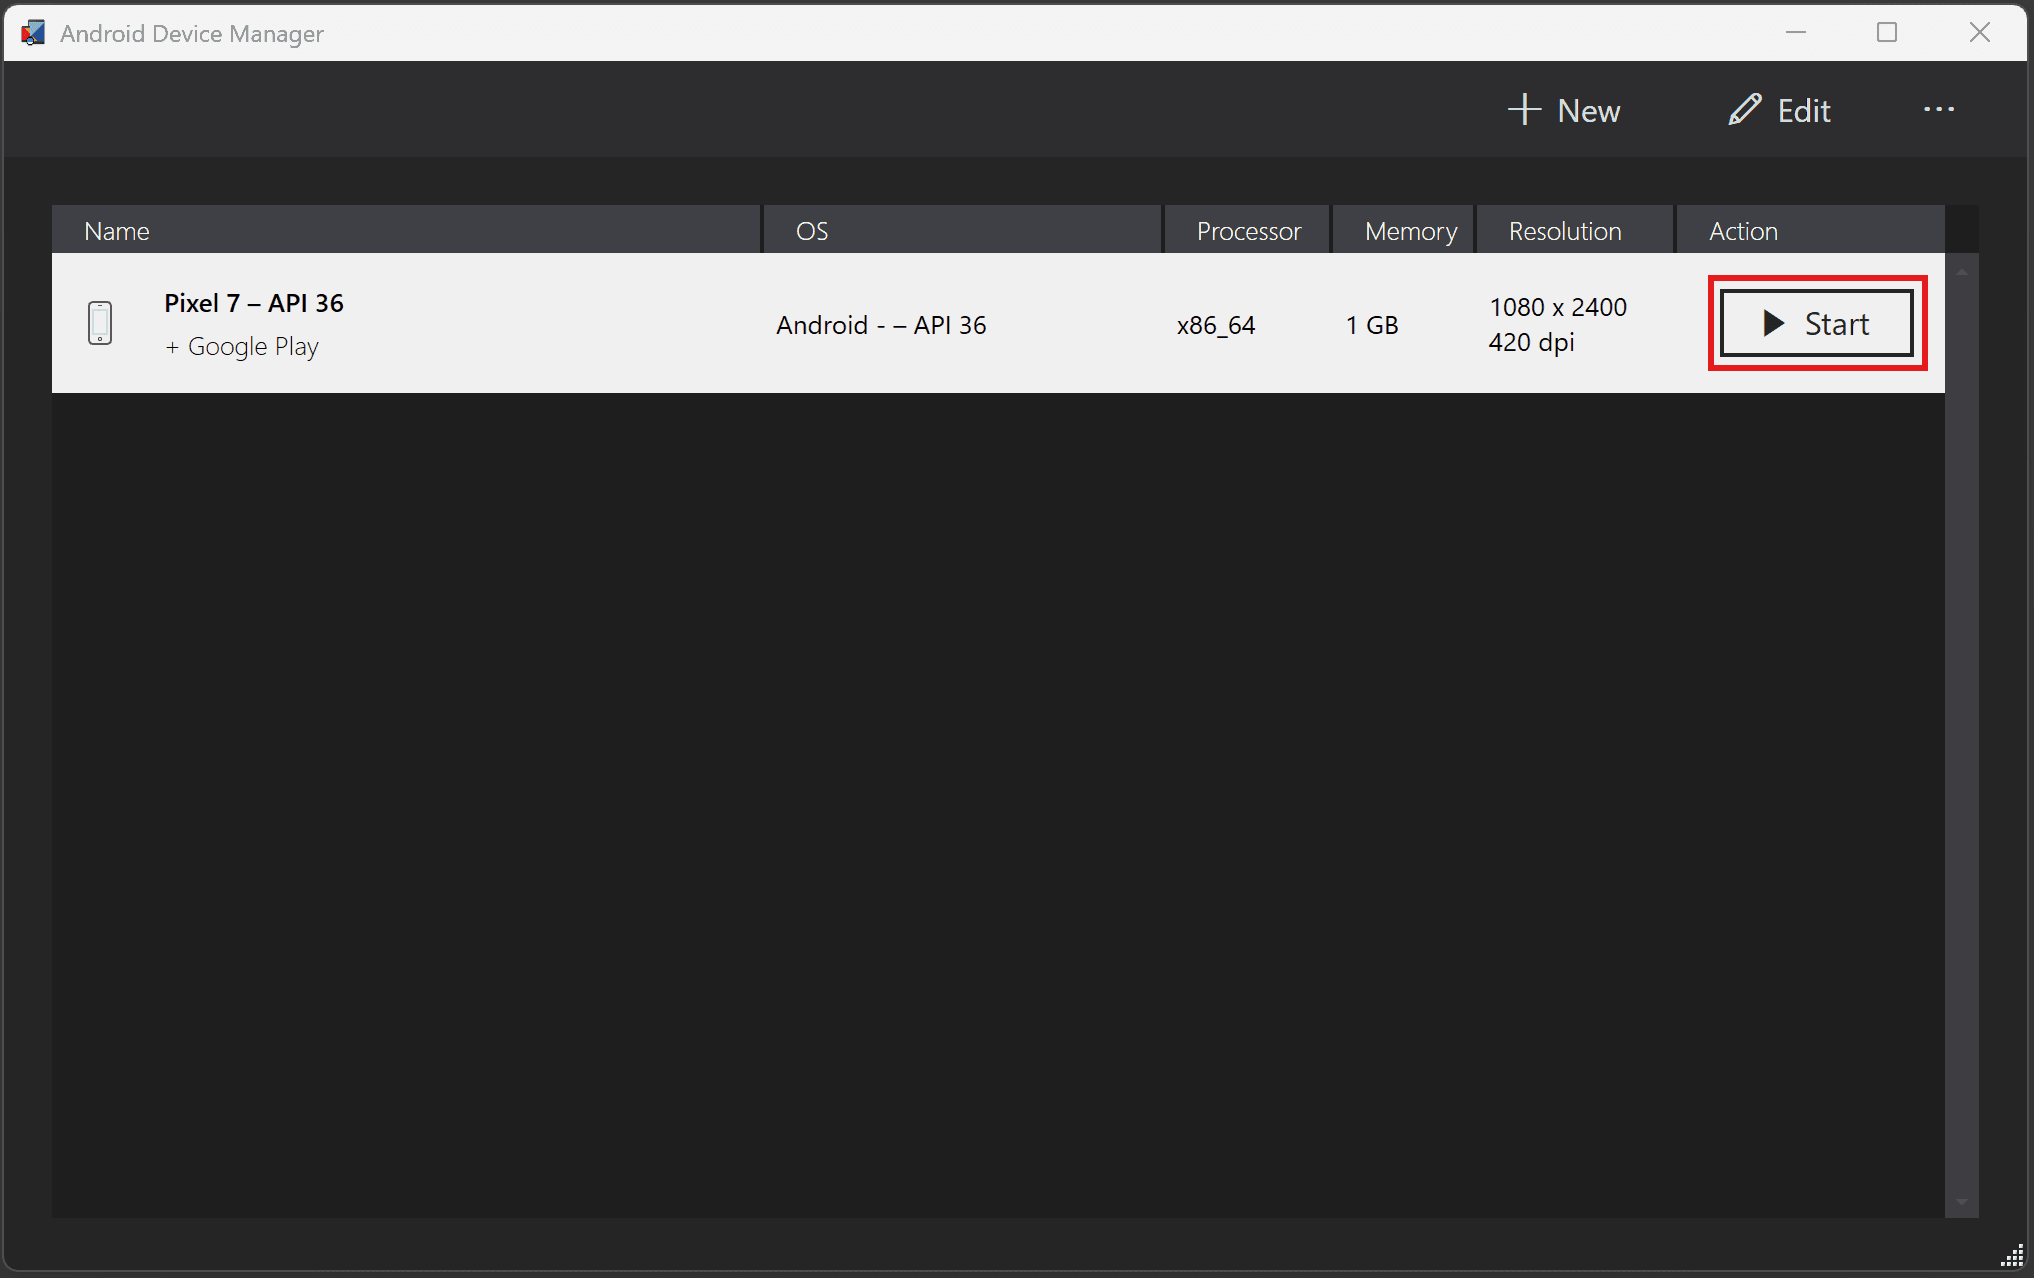
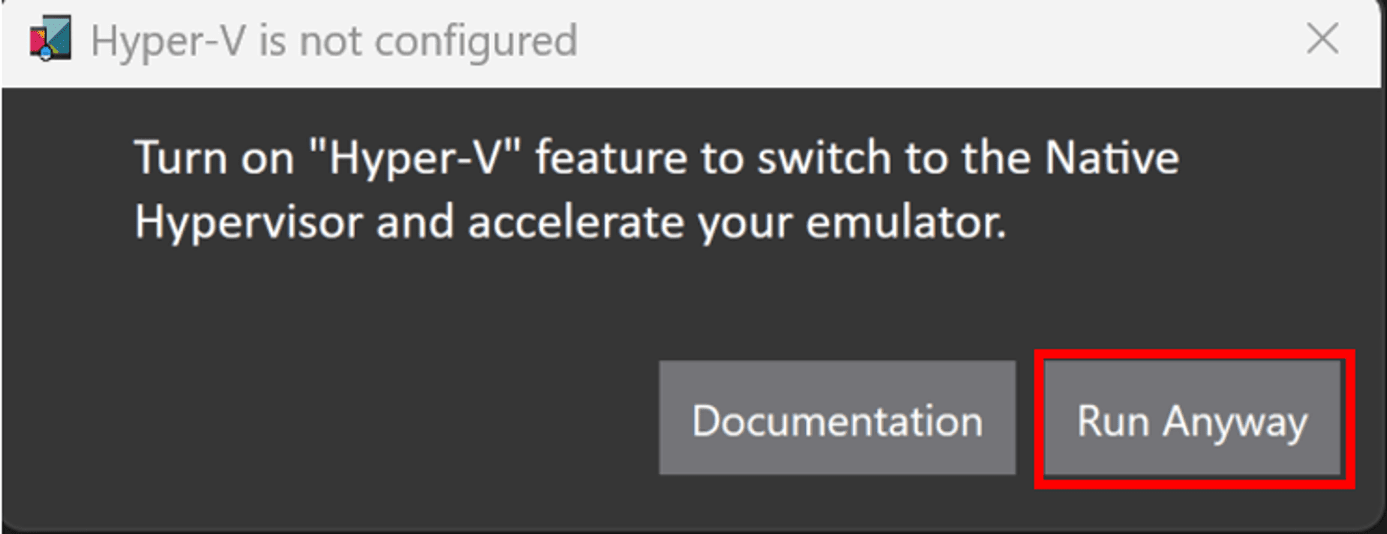
You may receive prompt to enable Windows Hypervisor Platform. Follow the documentation to enable acceleration to improve performance (required to get the emulator up and running). Select Run Anyway.
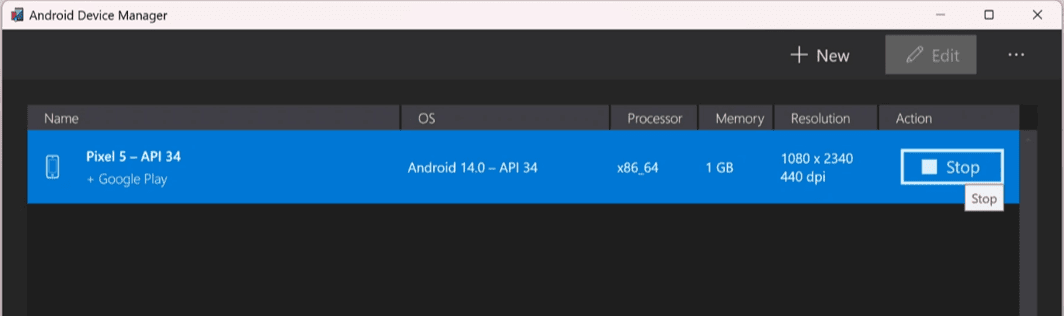
The Android emulator will launch and will be fully finished when you see the ability to Stop in the Android Device Manager. This may take some time.
Once it's fully finished, you'll see it displayed in the Visual Studio debug menu.

Your Android emulator has now been created and is ready to use. Next time you run Visual Studio, the emulator will appear directly in the debug target window and will start when you select it. If you ran into any issues or have performance issues with the emulator, read through the full setup documentation.
Set up Android device
To develop with your Android device, USB debugging needs to be enabled. Follow these steps on the device to connect it to Visual Studio. If you don't have an Android device, you can skip this section.
Enable developer mode
- Go to the Settings screen.
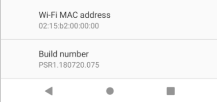
- Find Build number by using search at the top of the settings screen, or locate it in About phone.
- Tap Build number 7-10 times until "You are now a developer!" pops up.
Check USB debugging status
- Go to the Settings screen.
- Find USB debugging by using search at the top of the settings screen, or locate it in Developer options.
- Enable USB debugging if it isn't enabled already.

Trust device
- Plug your device into your computer.
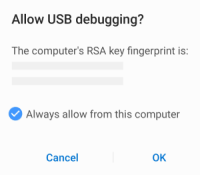
- You'll be prompted to Allow USB debugging.
- Check Always allow from this computer.
- Click Allow.
Your device is now configured and will show up in Visual Studio as a deployment target.
Having issues? Check the documentation.
Your emulator or device should now be configured for deployment!
Run on Android
Make sure your device or emulator is selected as a debug target.
From the menu, select Debug > Start Debugging (or press F5). If this option is disabled, ensure an emulator or device is selected.
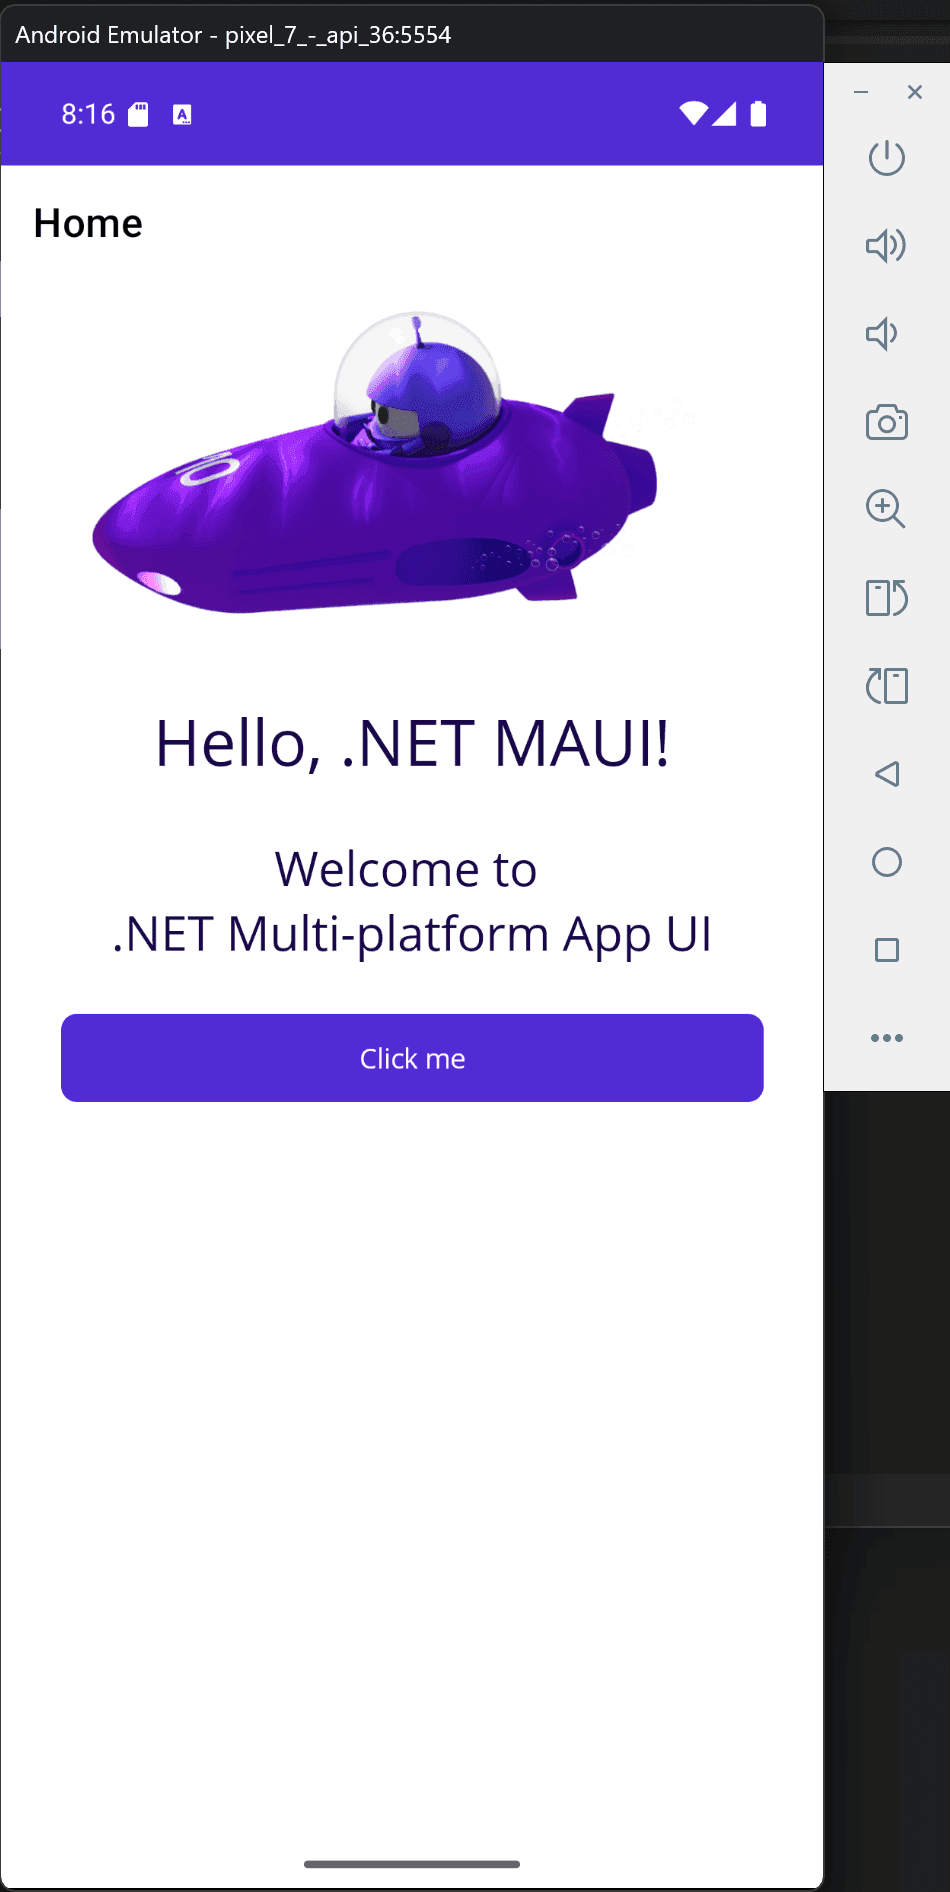
Your application will build, deploy to the Android device/emulator selected, and run.
You can deploy to one or more of the platforms based on your development environment. You just ran and deployed your app to macOS. Now, let's deploy to iOS.
Close the .NET MAUI application you had running and return to VS Code.
Click on the curly braces in the bottom right of the VS Code window in the Status Bar and select Debug Target.
Scroll down and select iPhone 15.

You should now see iOS: iPhone 15 as the new debug target.

To run the app, click the Run and Debug icon in the VS Code Activity Bar. Then click Run and Debug.
Your application will build and deploy to the iPhone simulator. Please note this may take a minute, it is virtually turning on an iPhone!

Next steps
Congratulations, you've built and run your first .NET MAUI app!
Keep learning
Now that you've got the basics, continue learning how to build .NET MAUI apps with the self-guided learning path on Microsoft Learn.
.NET MAUI for Beginners
Let James walk you through building a full .NET MAUI app from start to finish:
You might also be interested in...

